Physical Computing

Weekly Activity Template

Sofia Montagner


Module 1


Activity Research

Three class activities, each of which helped me learn the basics of the various technologies I can choose to utilize for my project and clarify what is feasible to work with in order to form the best technological solution for the prototype.

Activity 1
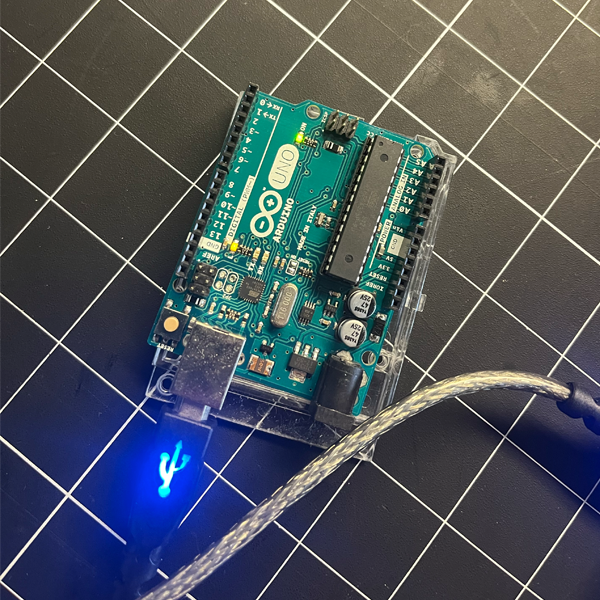
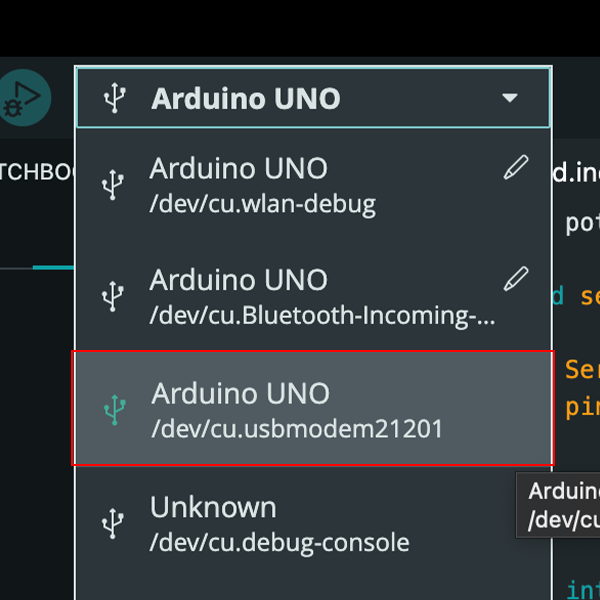
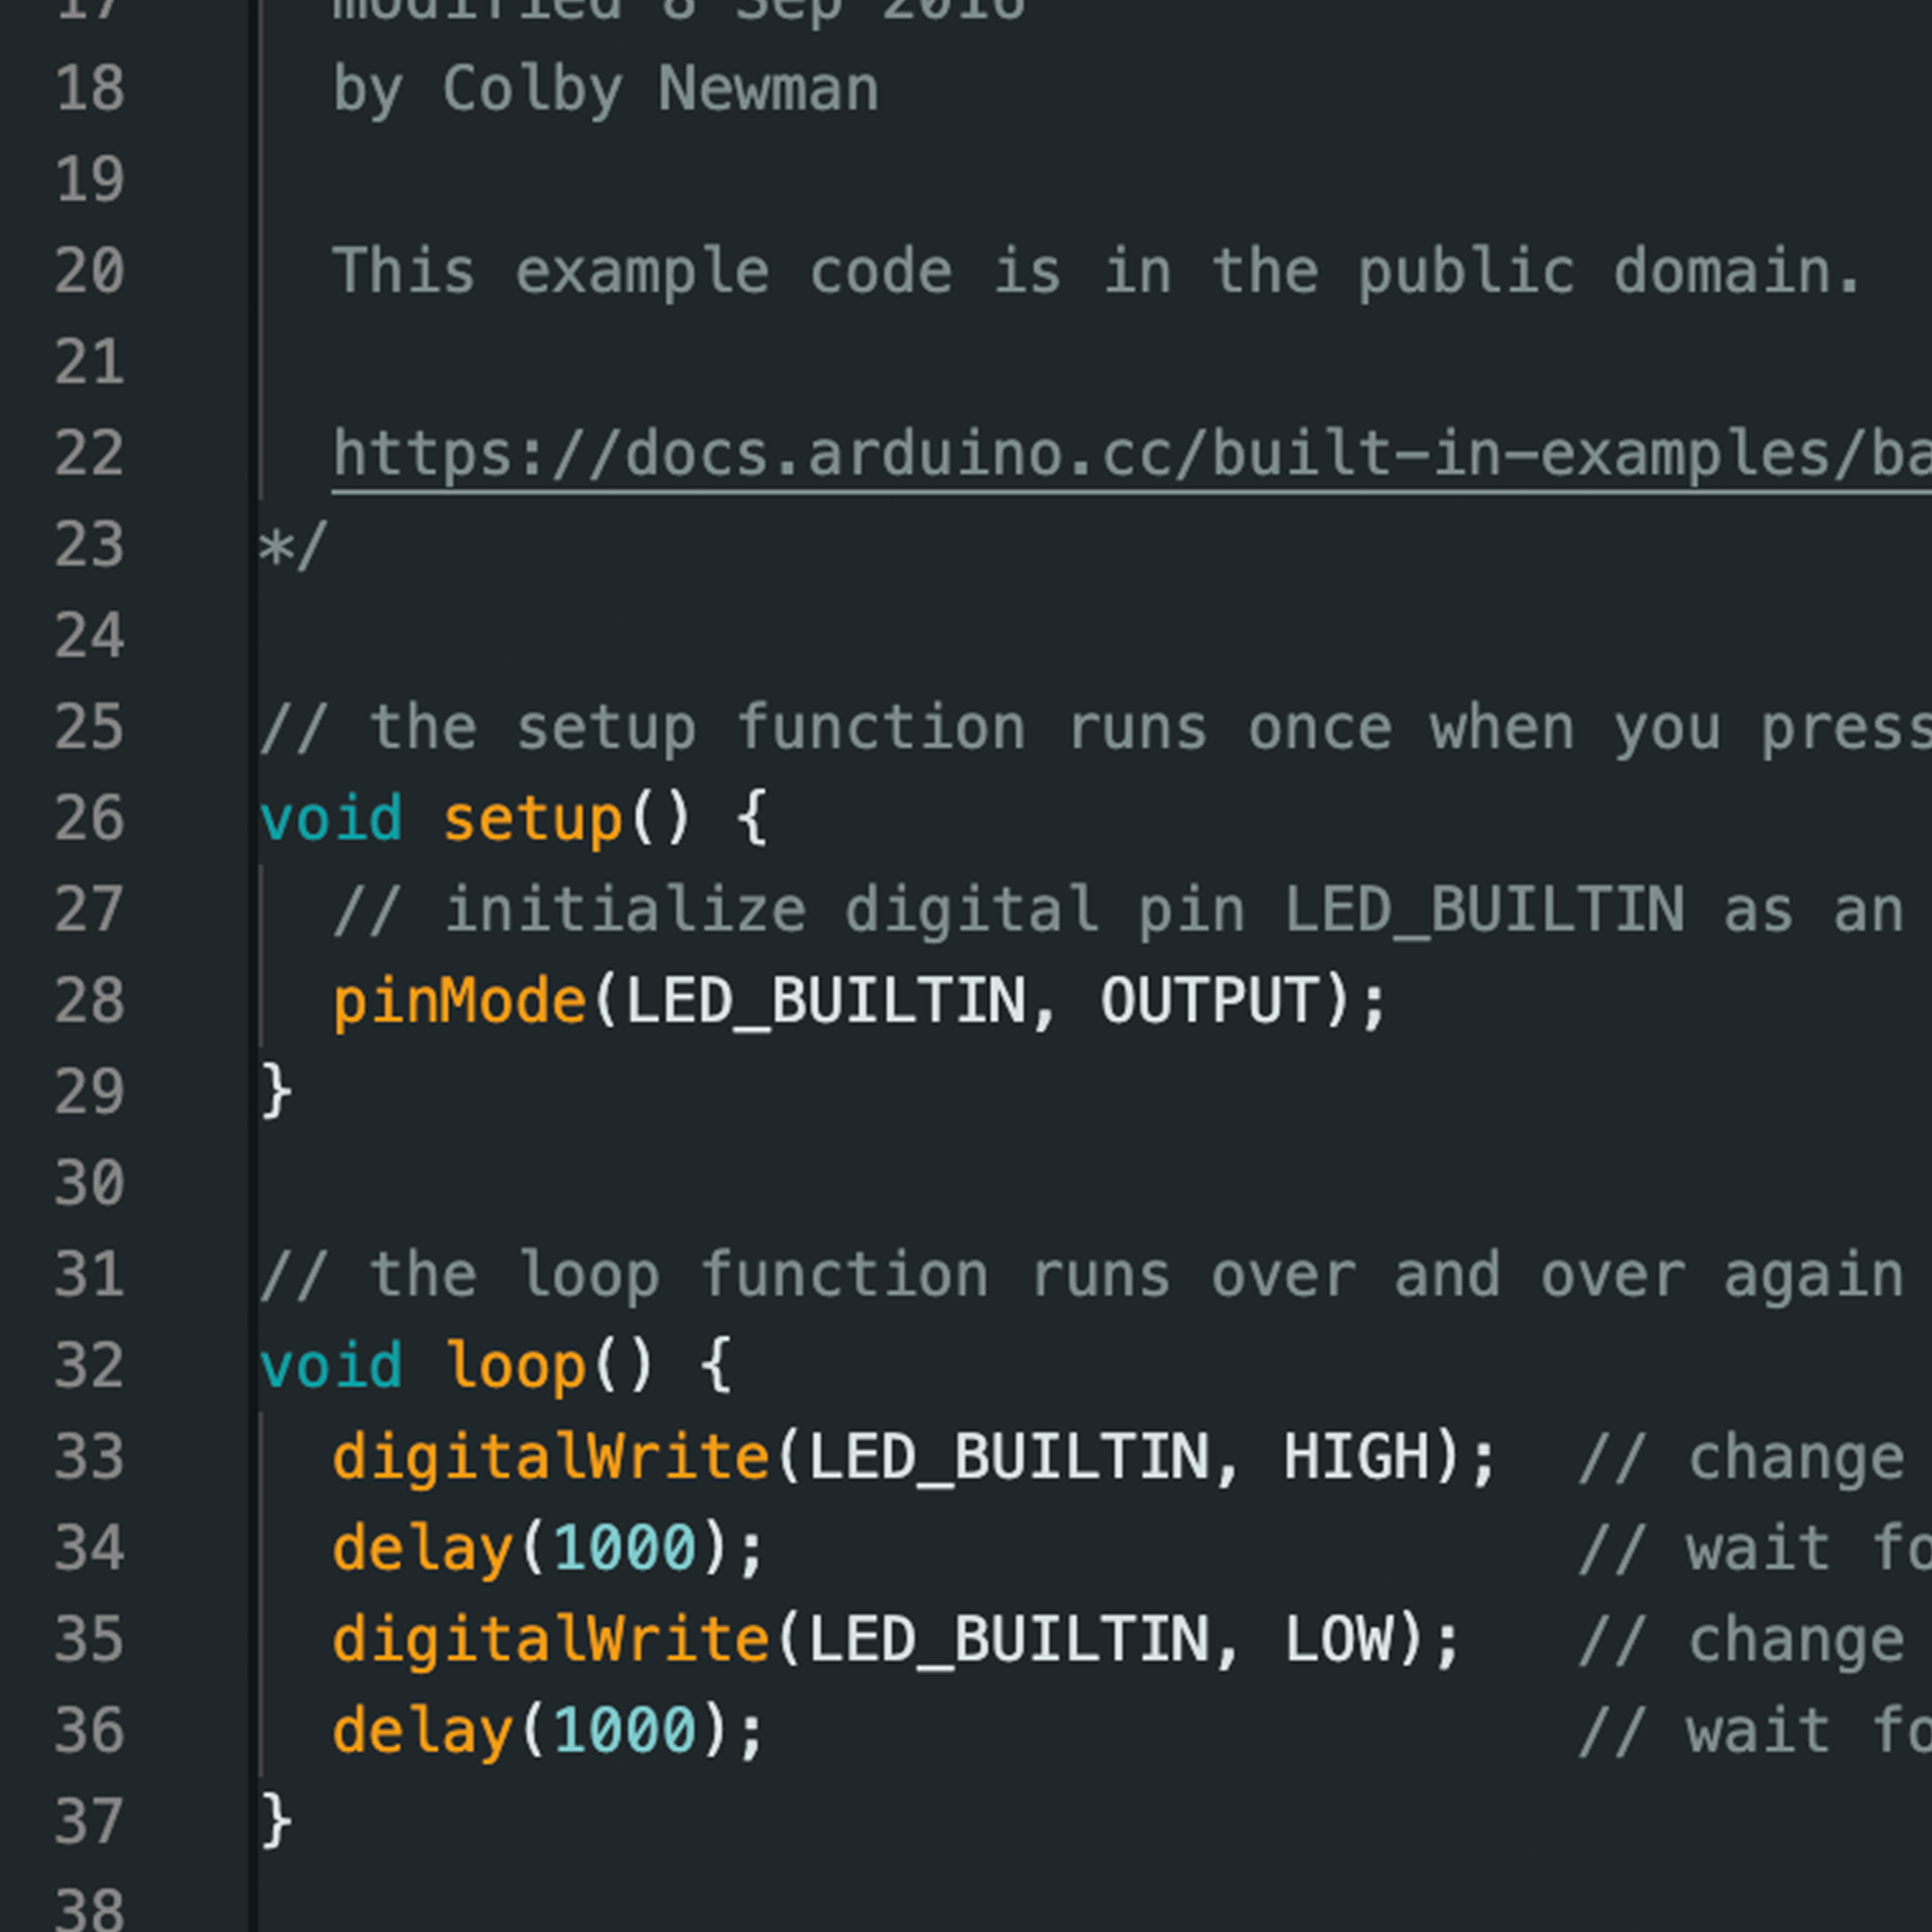
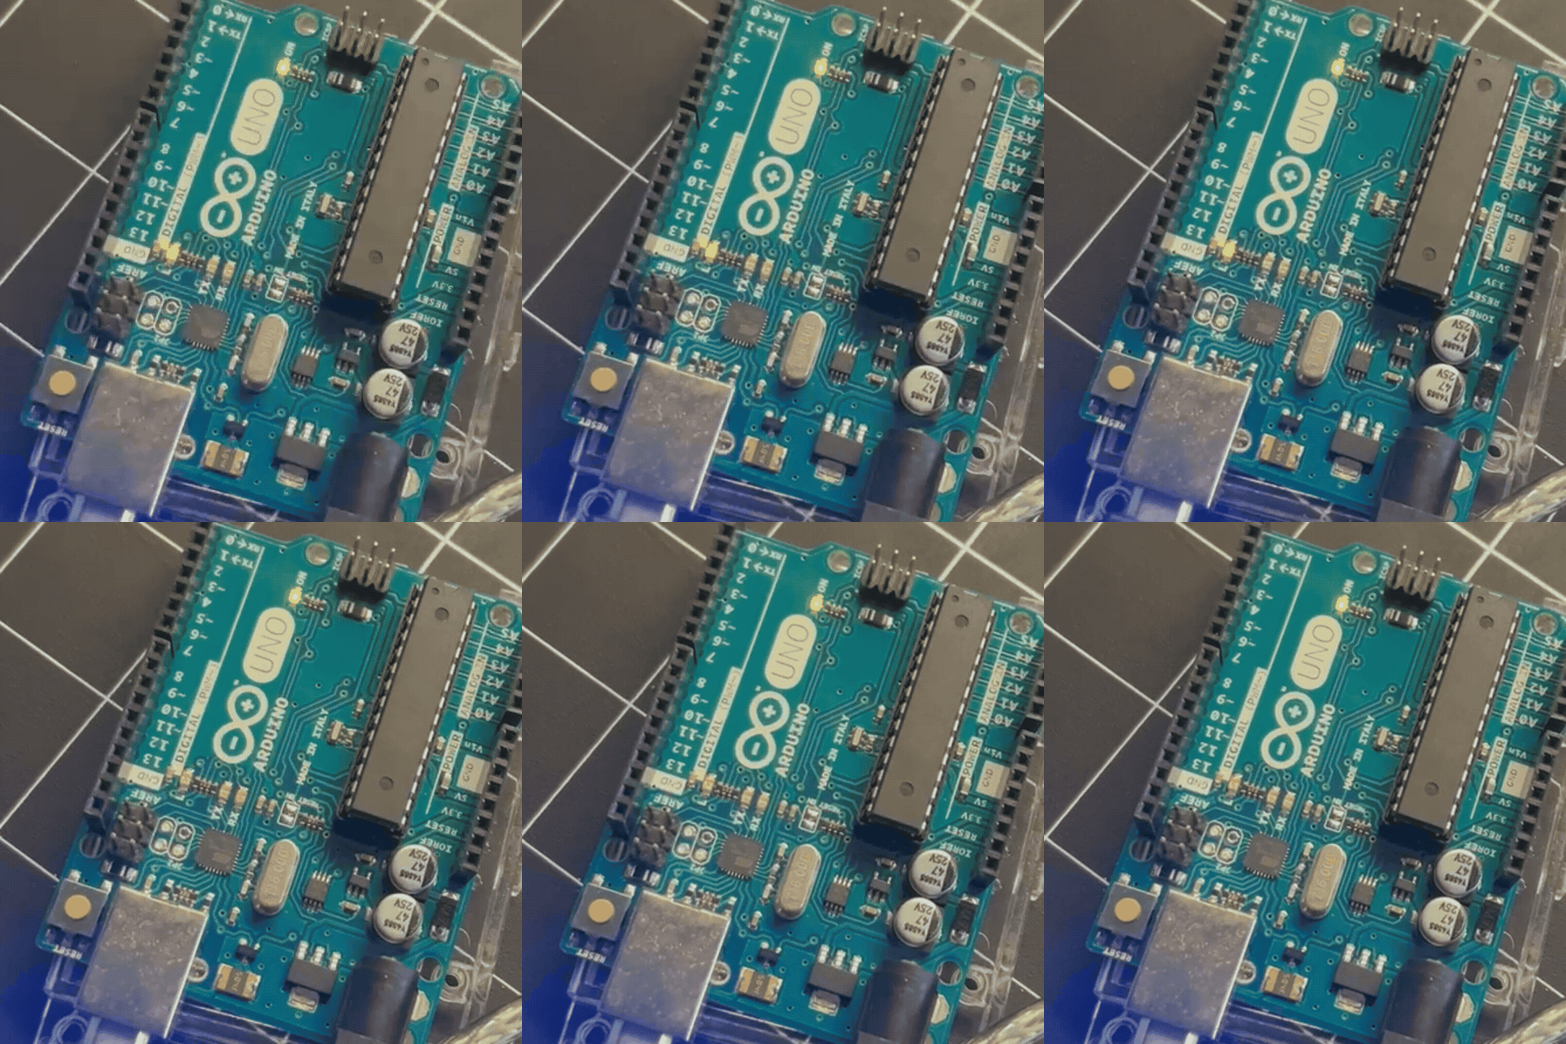
In order to connect the Arduino Uno to my laptop, I plugged in the USB cable to establish a connection. Once plugged in, I opened the Arduino IDE and selected the correct board and port. The small yellow light on the Arduino turned on, assuring me that it was properly connected. Going through the basic Arduino code presets, I selected the Blink code and it opened up a new tab with this code, which is supposed to cause the light to blink on and off every second/1000 milliseconds. Looking at this code allowed to get a very basic understanding of how it connects to the Arduino board and how it works. Once pressing the upload button, the yellow light began to flash quickly as intended. Lastly, I put an LED light into the ground and 13 pin (firstly ensuring that the positive and negative sides of the LED are in the right place), which then cause the LED to blink, just as the small yellow light was, allowing me to get a further visualization of how the code works when connecting it to a specific pin.

Activity 2

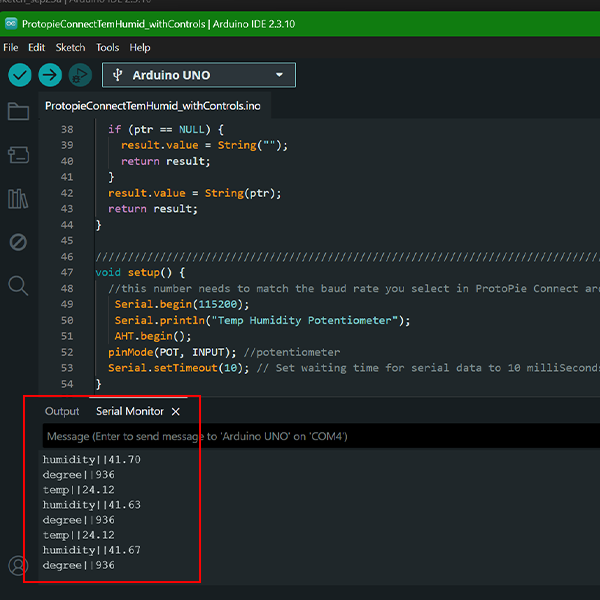
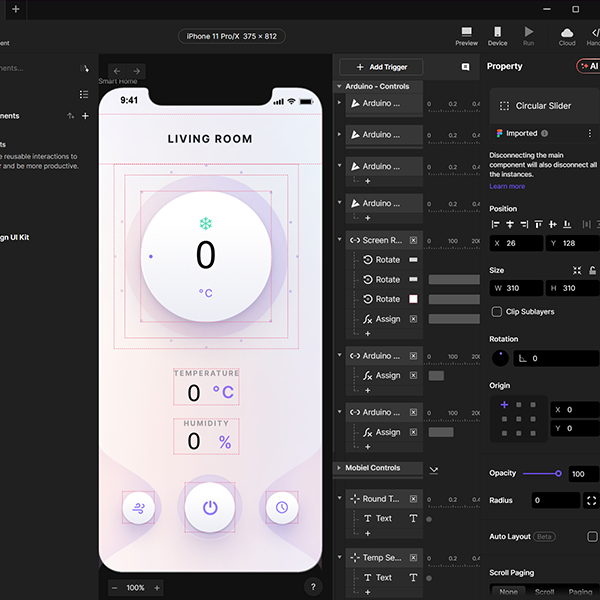
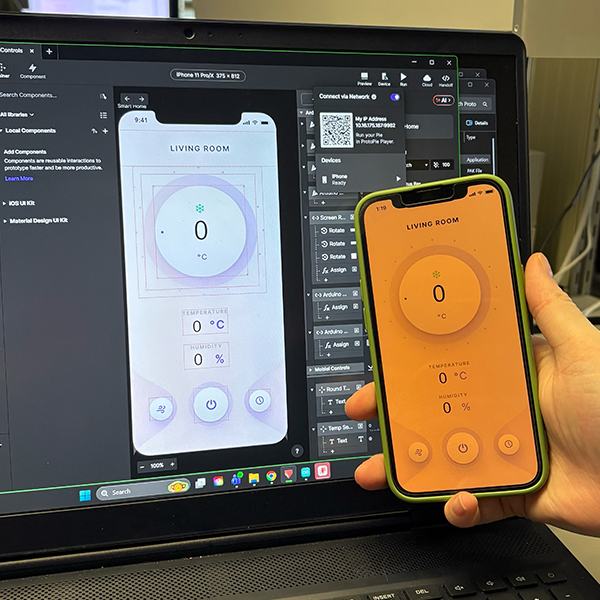
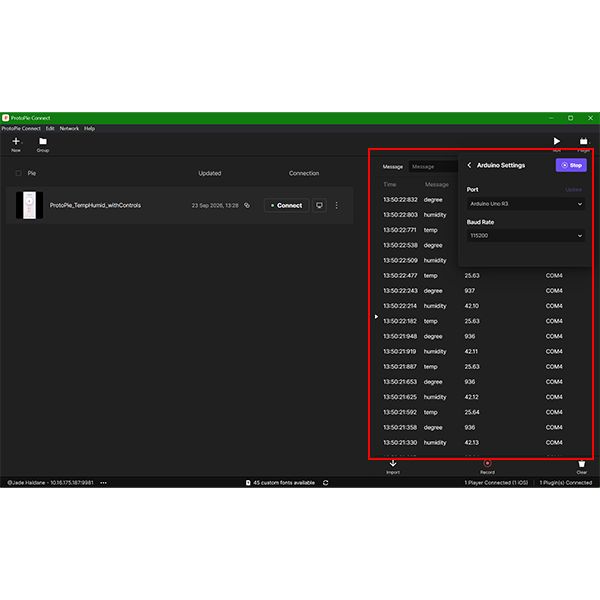
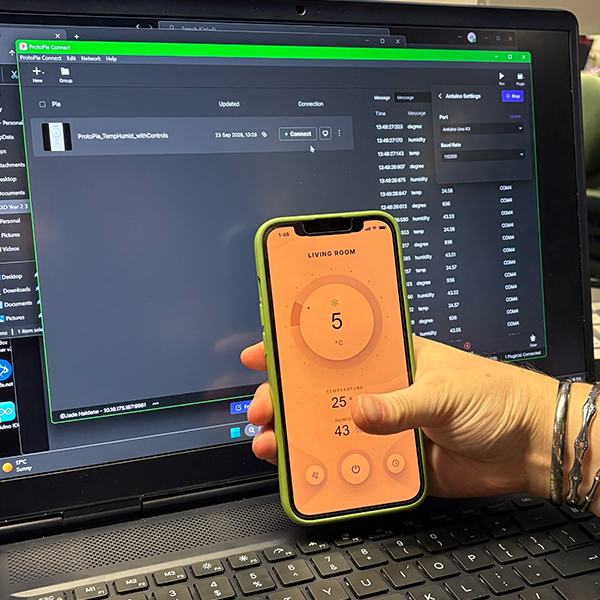
Once connecting the Arduino to the laptop, then installing the sensor kit library, I was able to see the humidity/temperature information that was coming from the Arduino in the serial monitor. This helped me get a simple idea of how the sensor works, since I and my group are planning on using it for our project. Before importing any code to ProtoPie, we opened the TempHumid prototype file to see the initial setup and ensure that we had the correct software (ProtoPie mobile app, and the ProtoPie connect and studio desktop apps). Once we downloaded the app, we were able to scan the QR code and open the prototype on our phones. This allowed us to see how the prototype would look on a mobile device, which was a basic, yet important thing to know how to do on ProtoPie when testing. We then moved on to the next step, which was to import the Arduino code into ProtoPie connect. We had some trouble at first, as it was not working because the code was still running in the Arduino app. Once we figured that out, we were able to successfully import the code and have it run properly. All we had left to do was to test the prototype by conencting to it on our phones. We scanned the QR code again, and we were able to see the temperature change just like a fully functioning app.

Activity 3

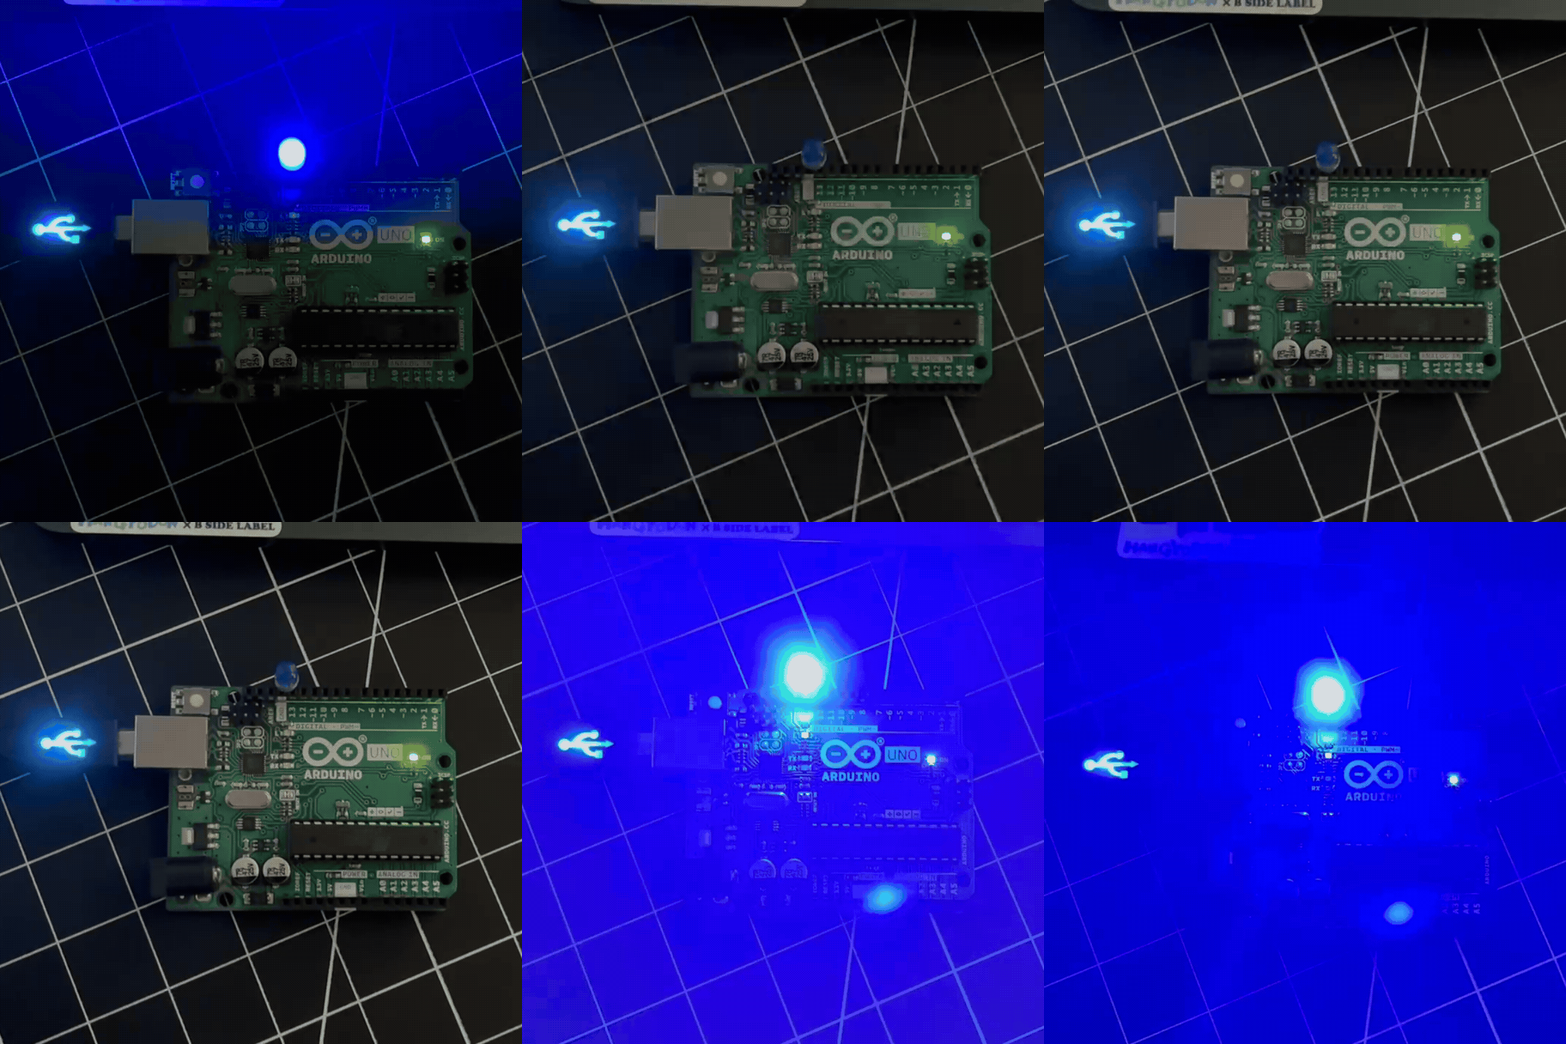
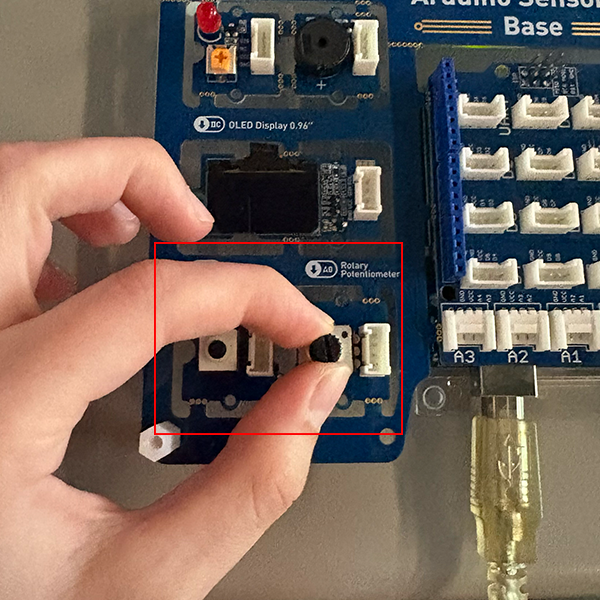
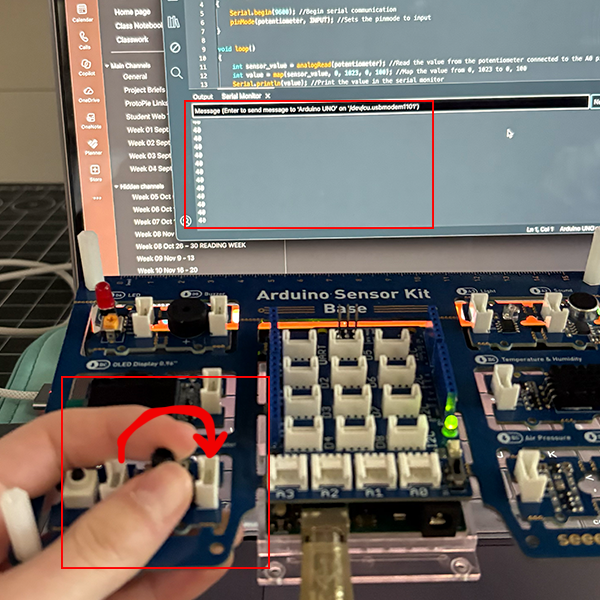
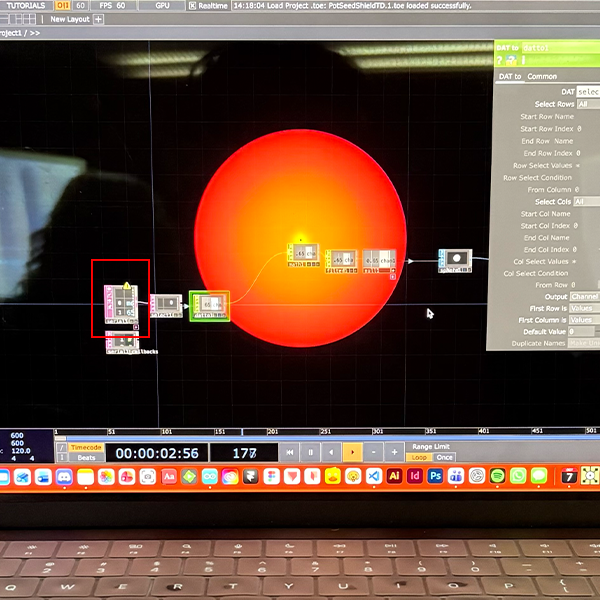
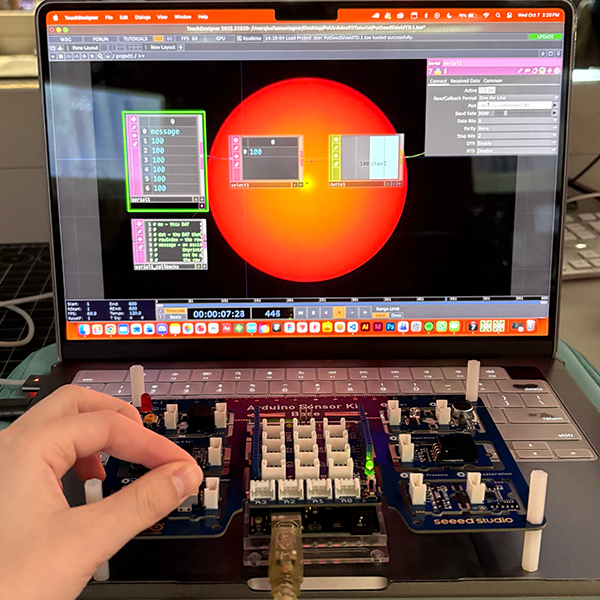
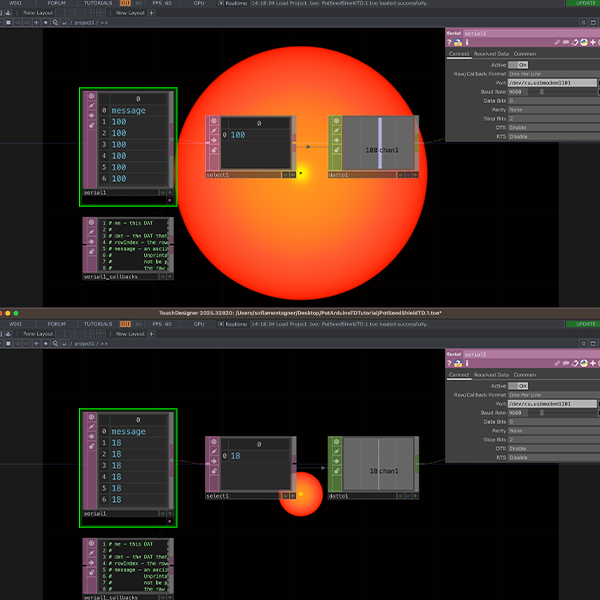
My first look at a rotary potentiometer on the Arduino board. When I first saw it, I didn't realize it worked like a knob. I opened the PotSeedShield sketch, then tested it out with the potentiometer, viewing the feedback in the serial monitor as I turned it left (number goes down) and right (number goesup). I opened the TouchDesigner file after making sure the serial monitor was closed. With this being my first time opening TouchDesigner, I found myself a bit overwhelmed by everything that was on screen, but following the instructions, I fixed the error on screen by selecting the Arduino device. I was then able to see the potentiometer's values being read in TouchDesigner, with the circle growing/shrinking based on the values as I turned the potentiometer. The values when the knob is turned further to clockwise depict the bigger circle (top), and the smaller circle (bottom) represents the values when turned counterclockwise.

Research Activity


Consumer Trend Research

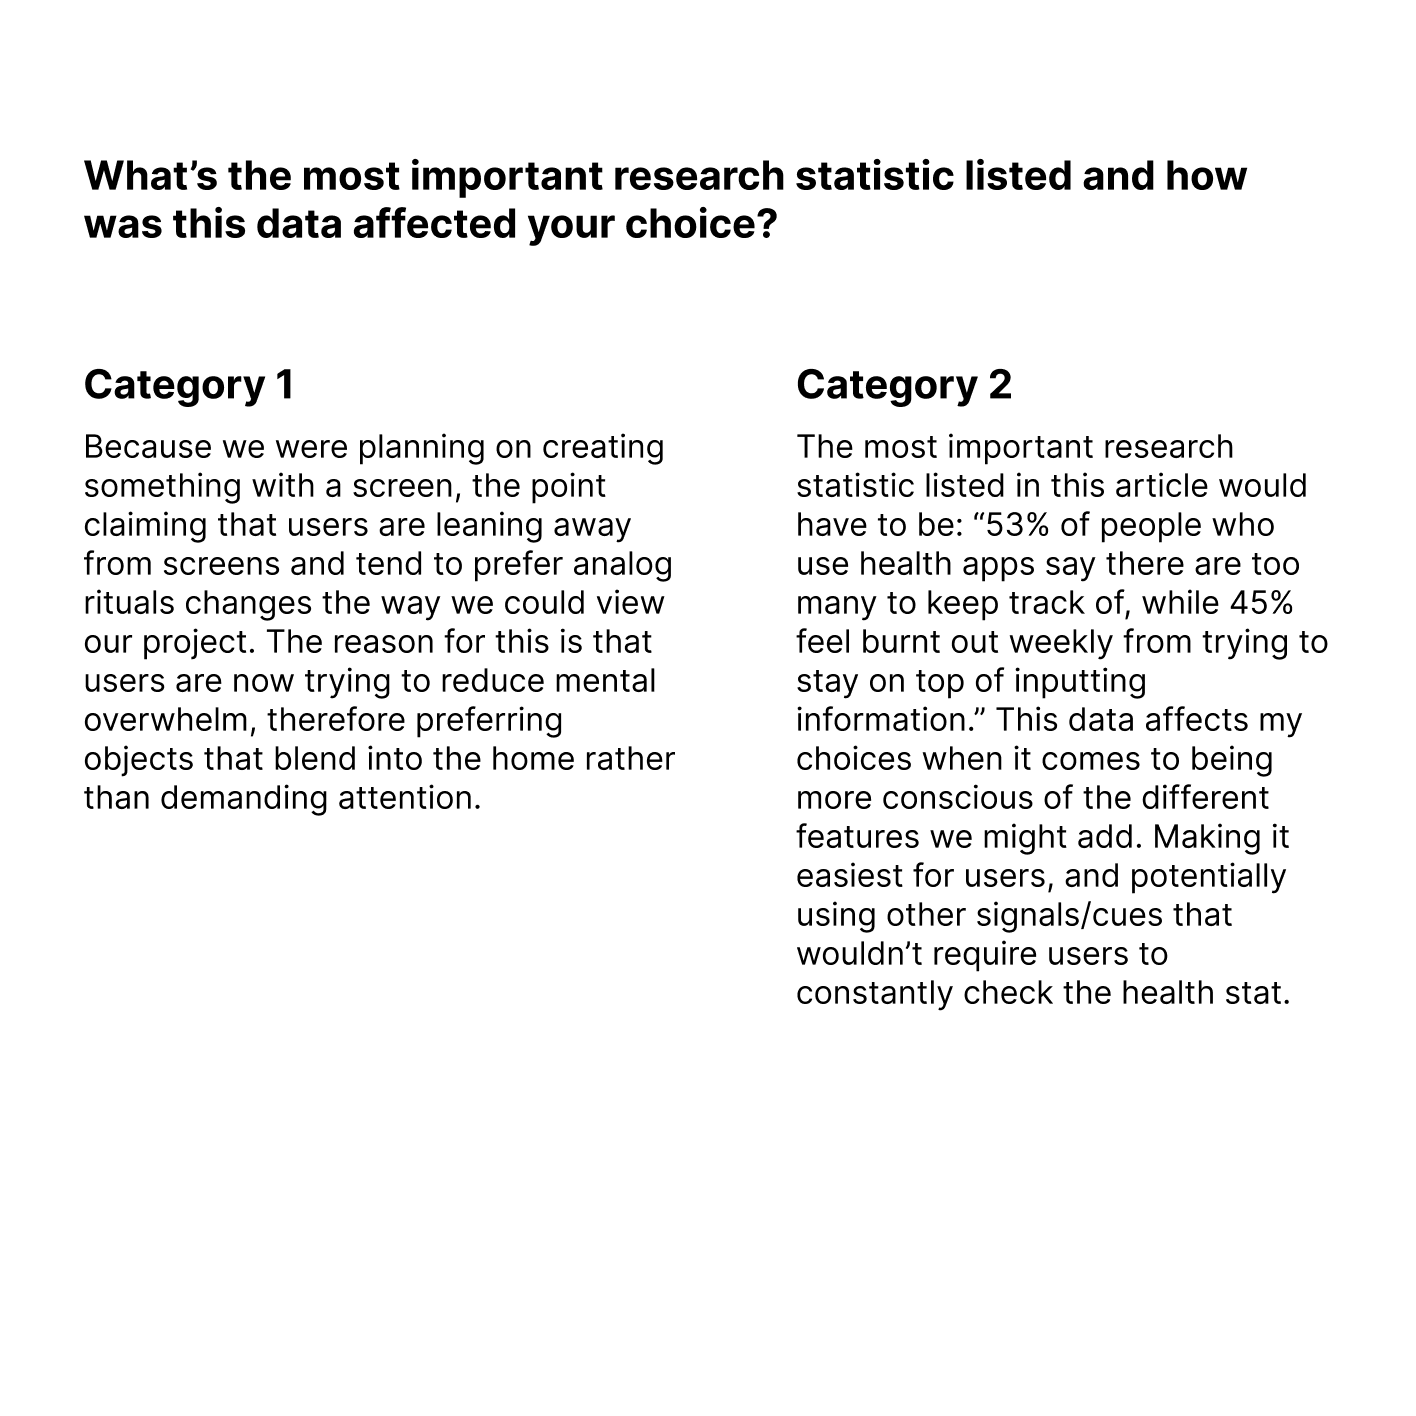
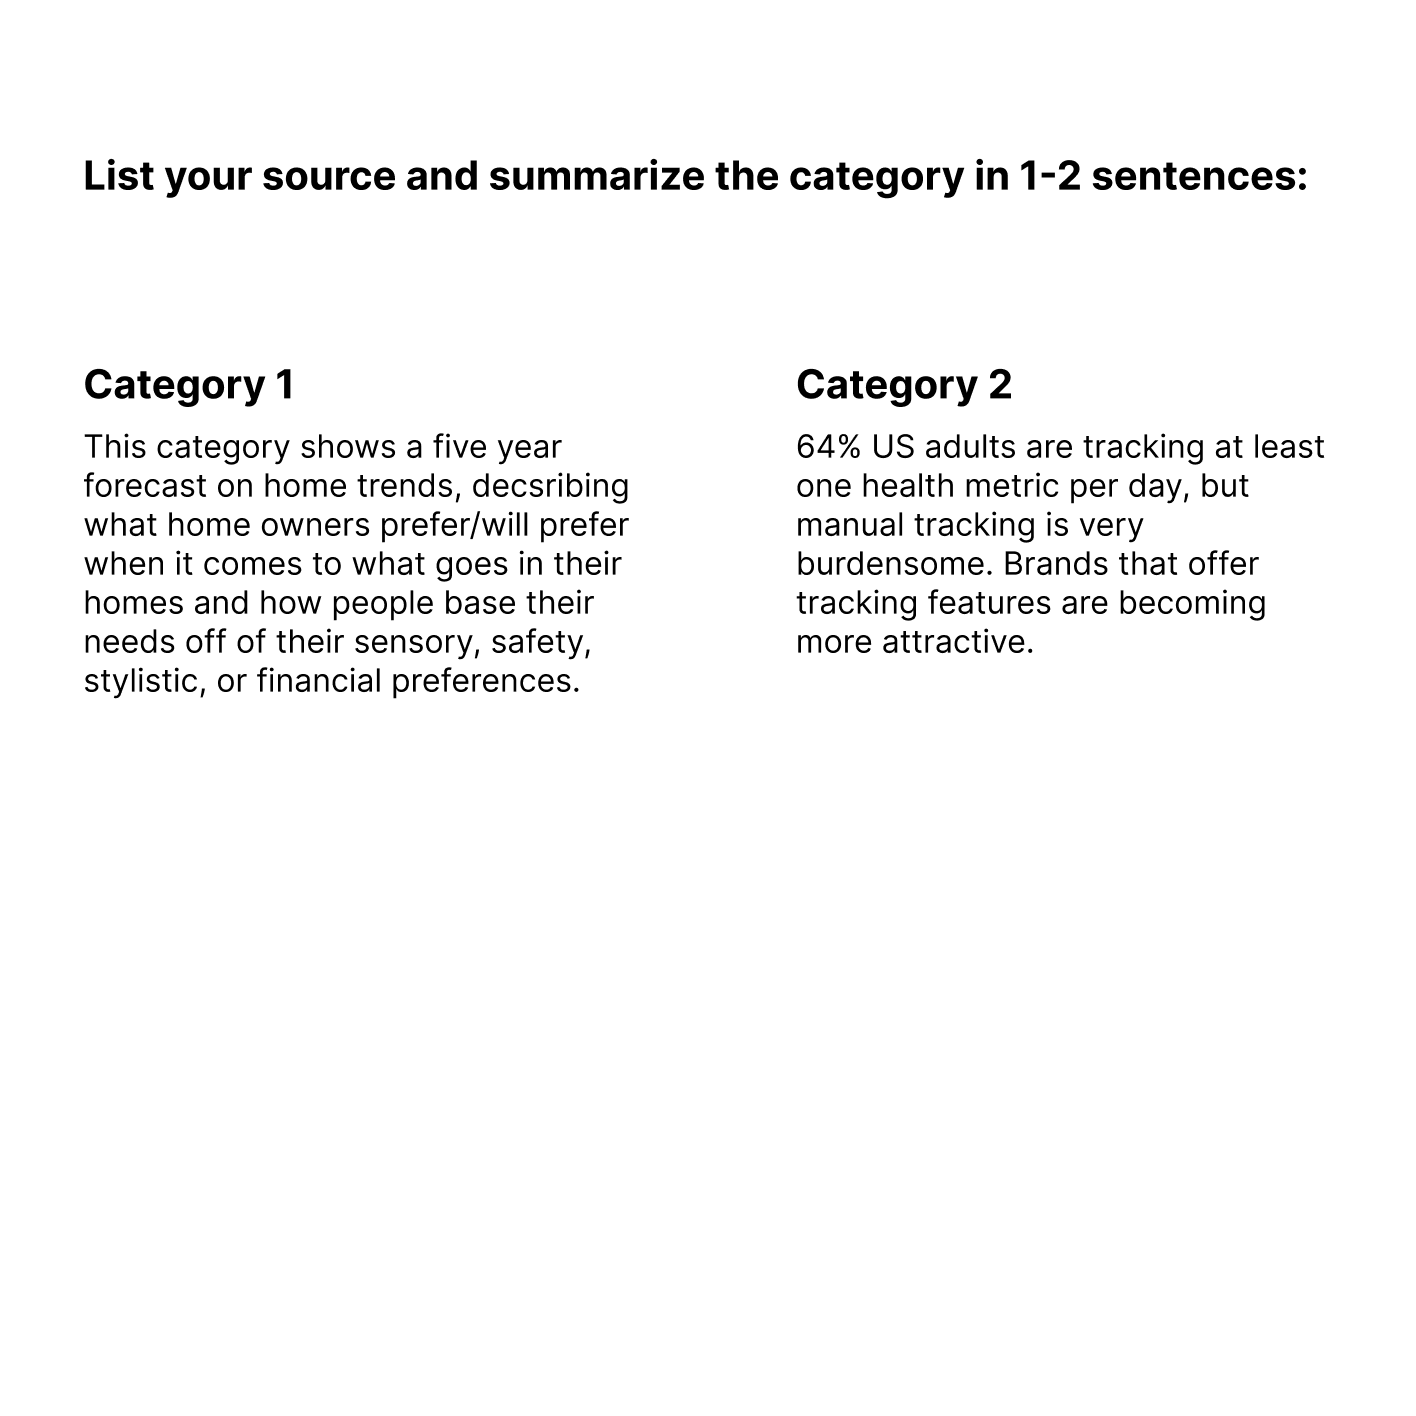
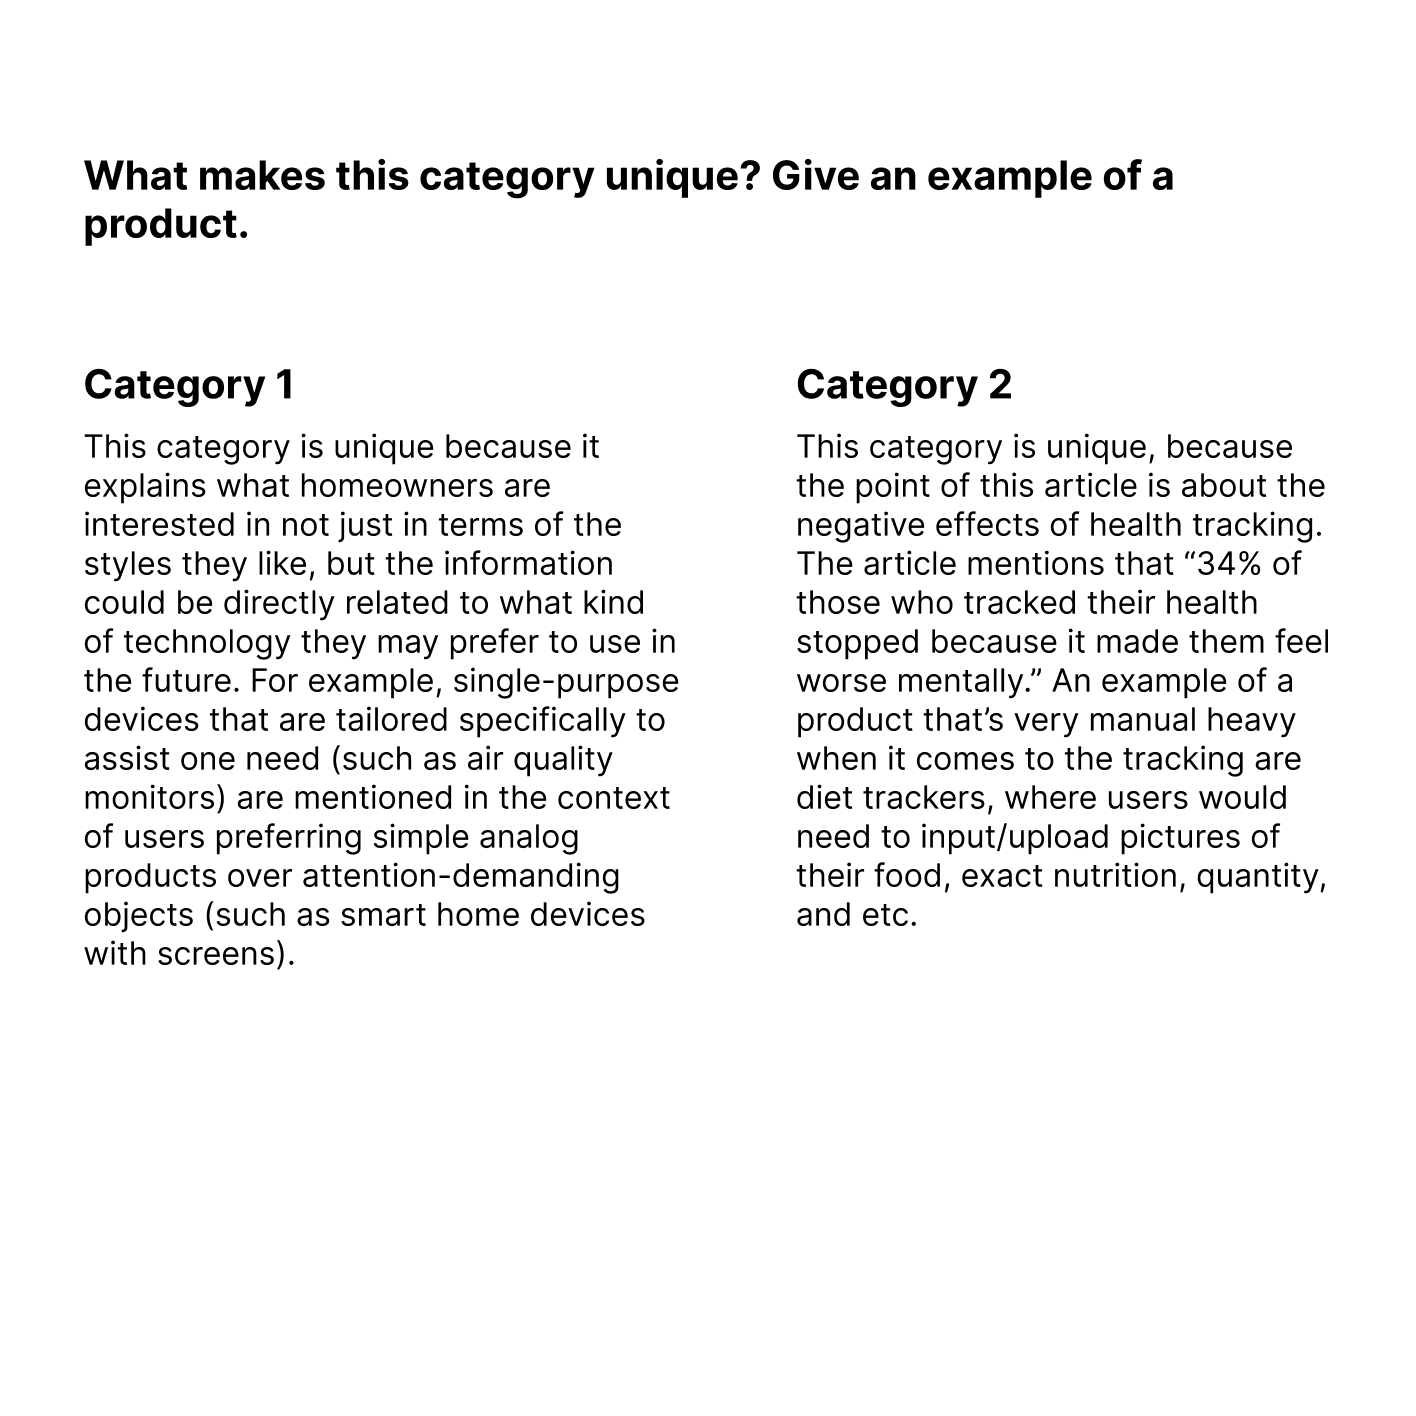
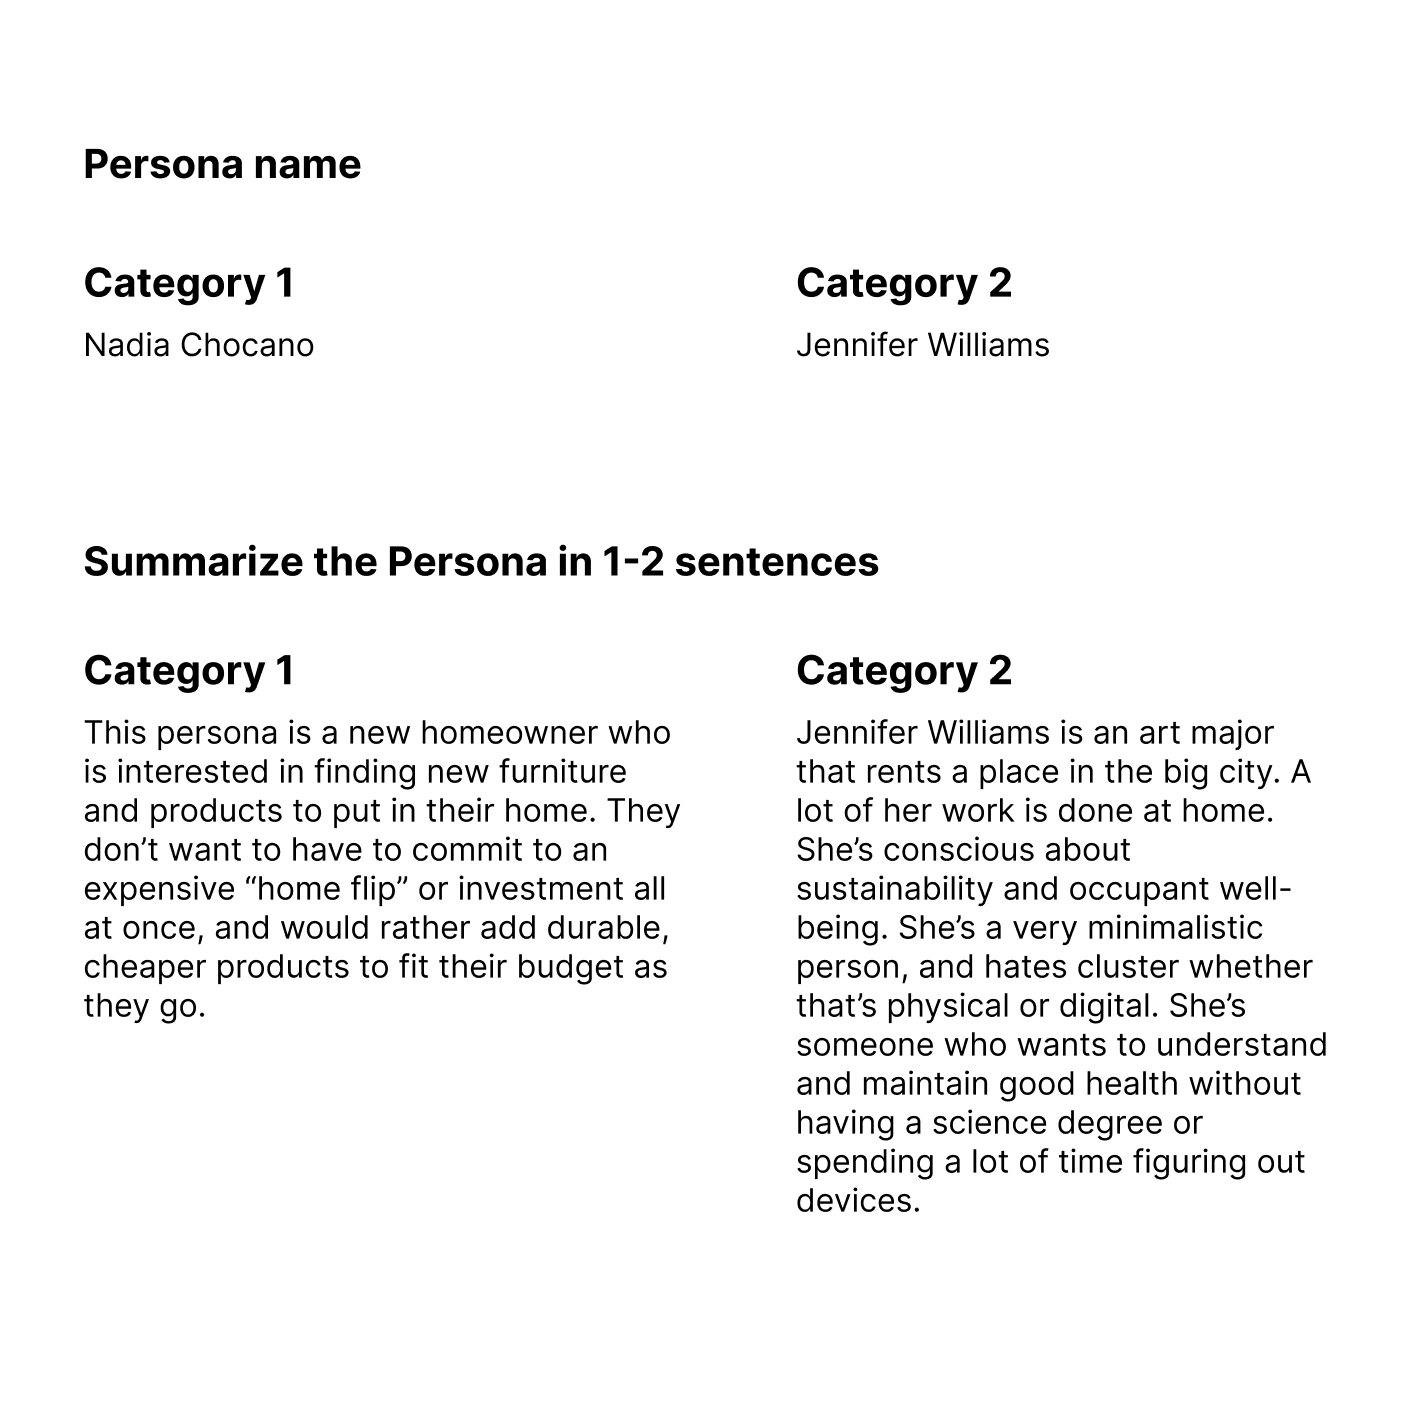
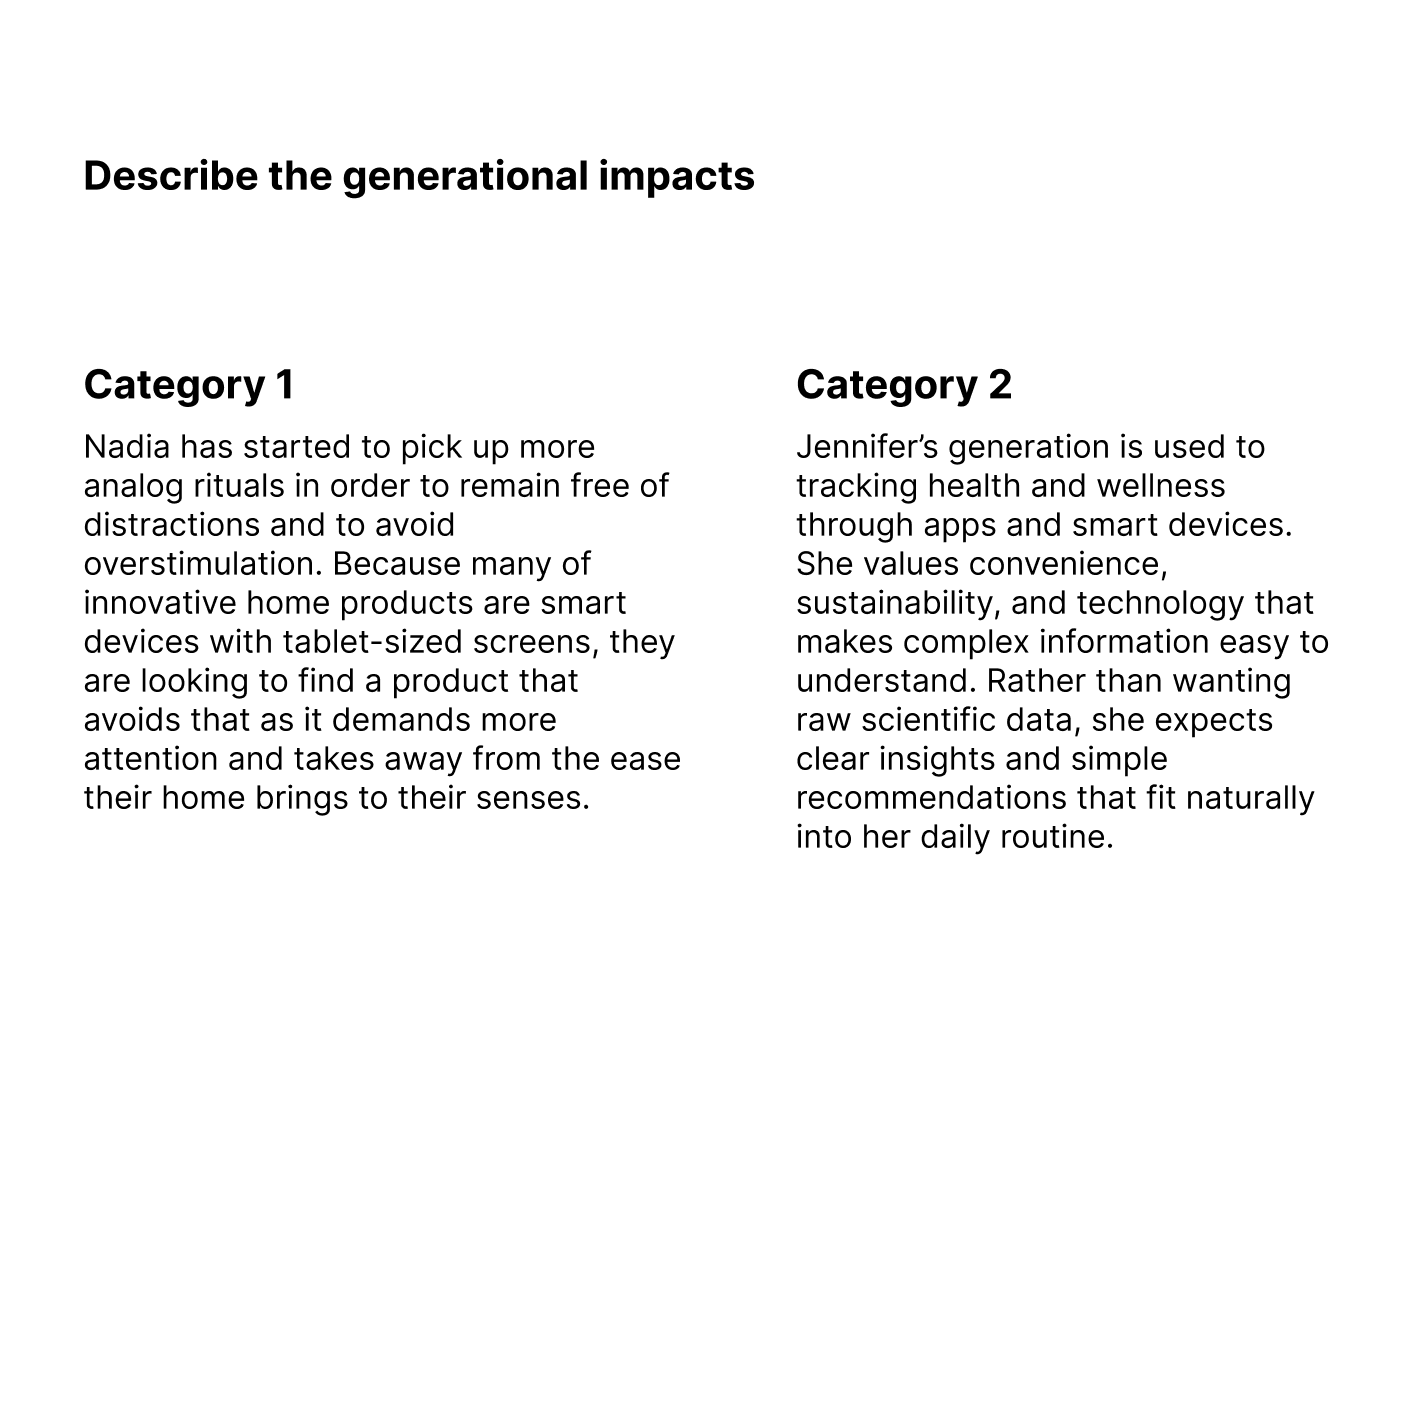
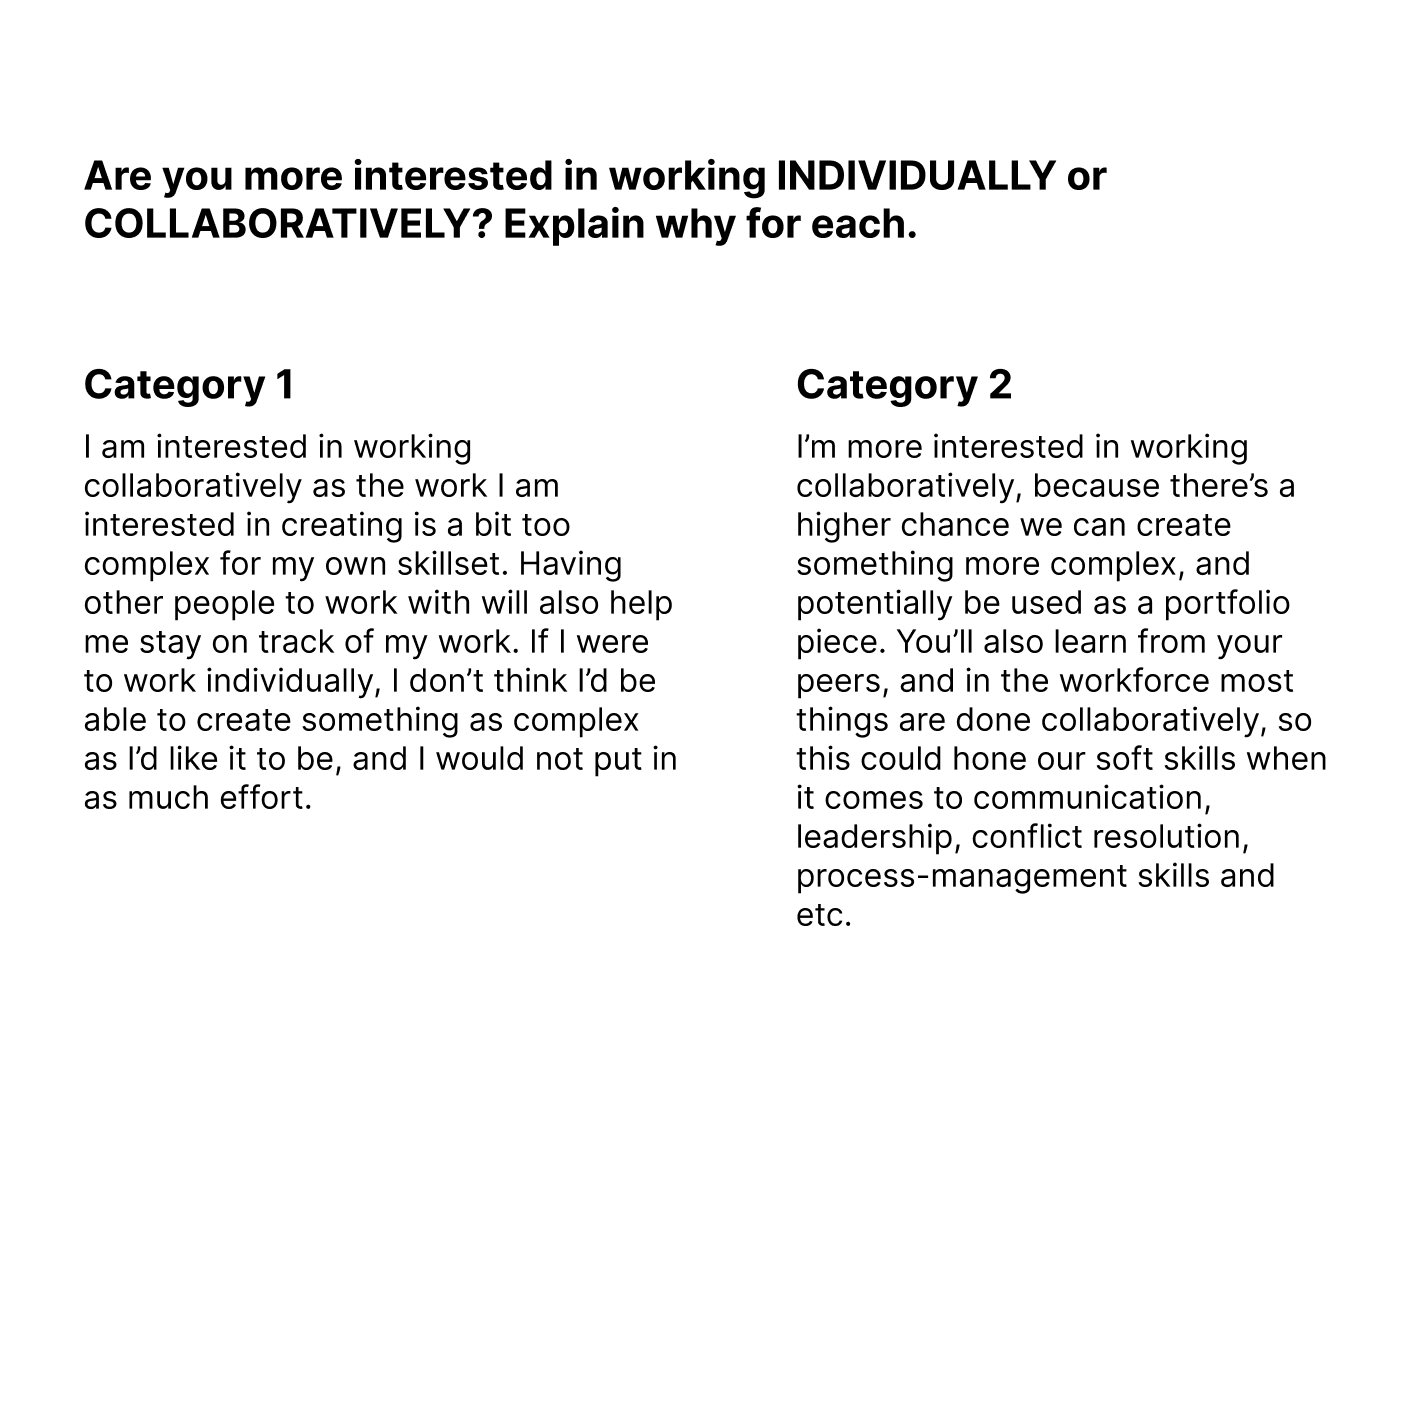
Having chosen two sources, one related to home technology trends/trend forecasts (category 1), and the other air/room quality health concerns (category 2), my group-mate Rita and I worked together in answering the following questions.
Personas Research

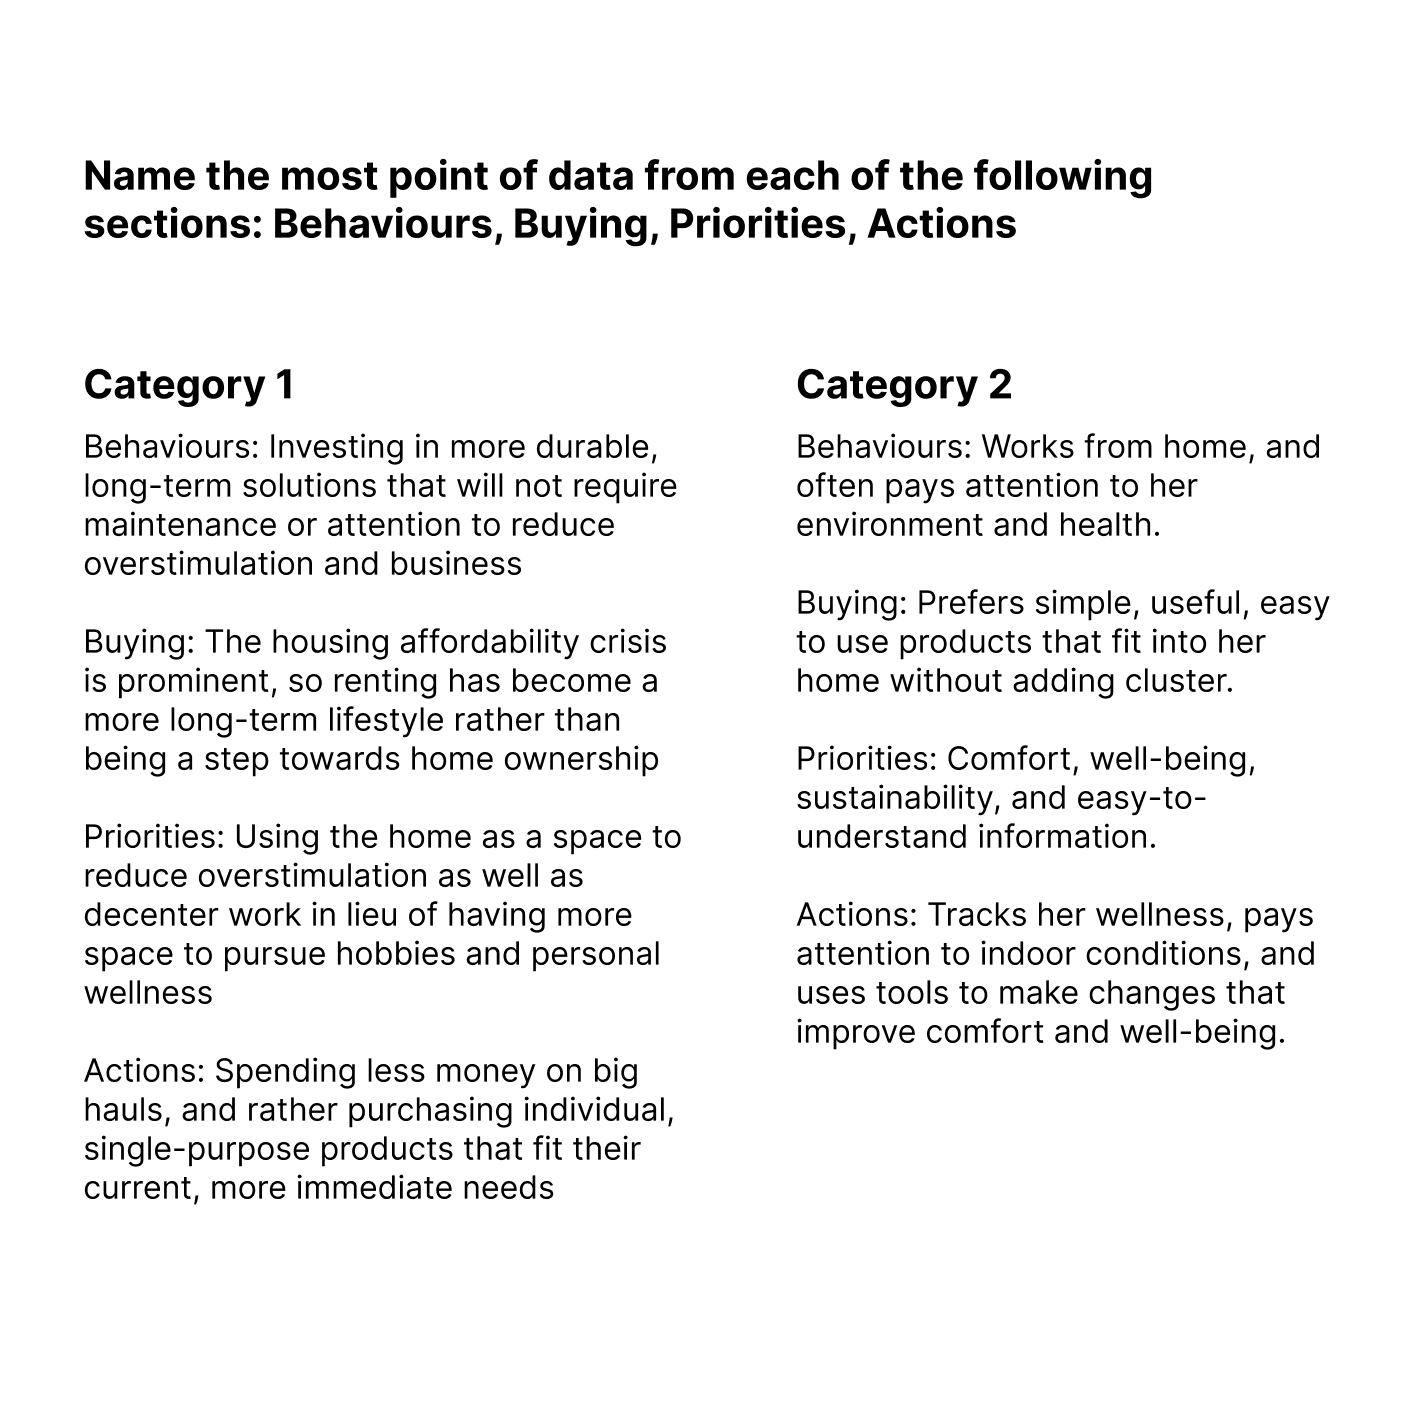
Based off of the information collected in each of the sources, we were able to create personas that are approximations of what the target users might be like. This helped us gather a more generalized idea of their potential needs and preferences.
HMI Research

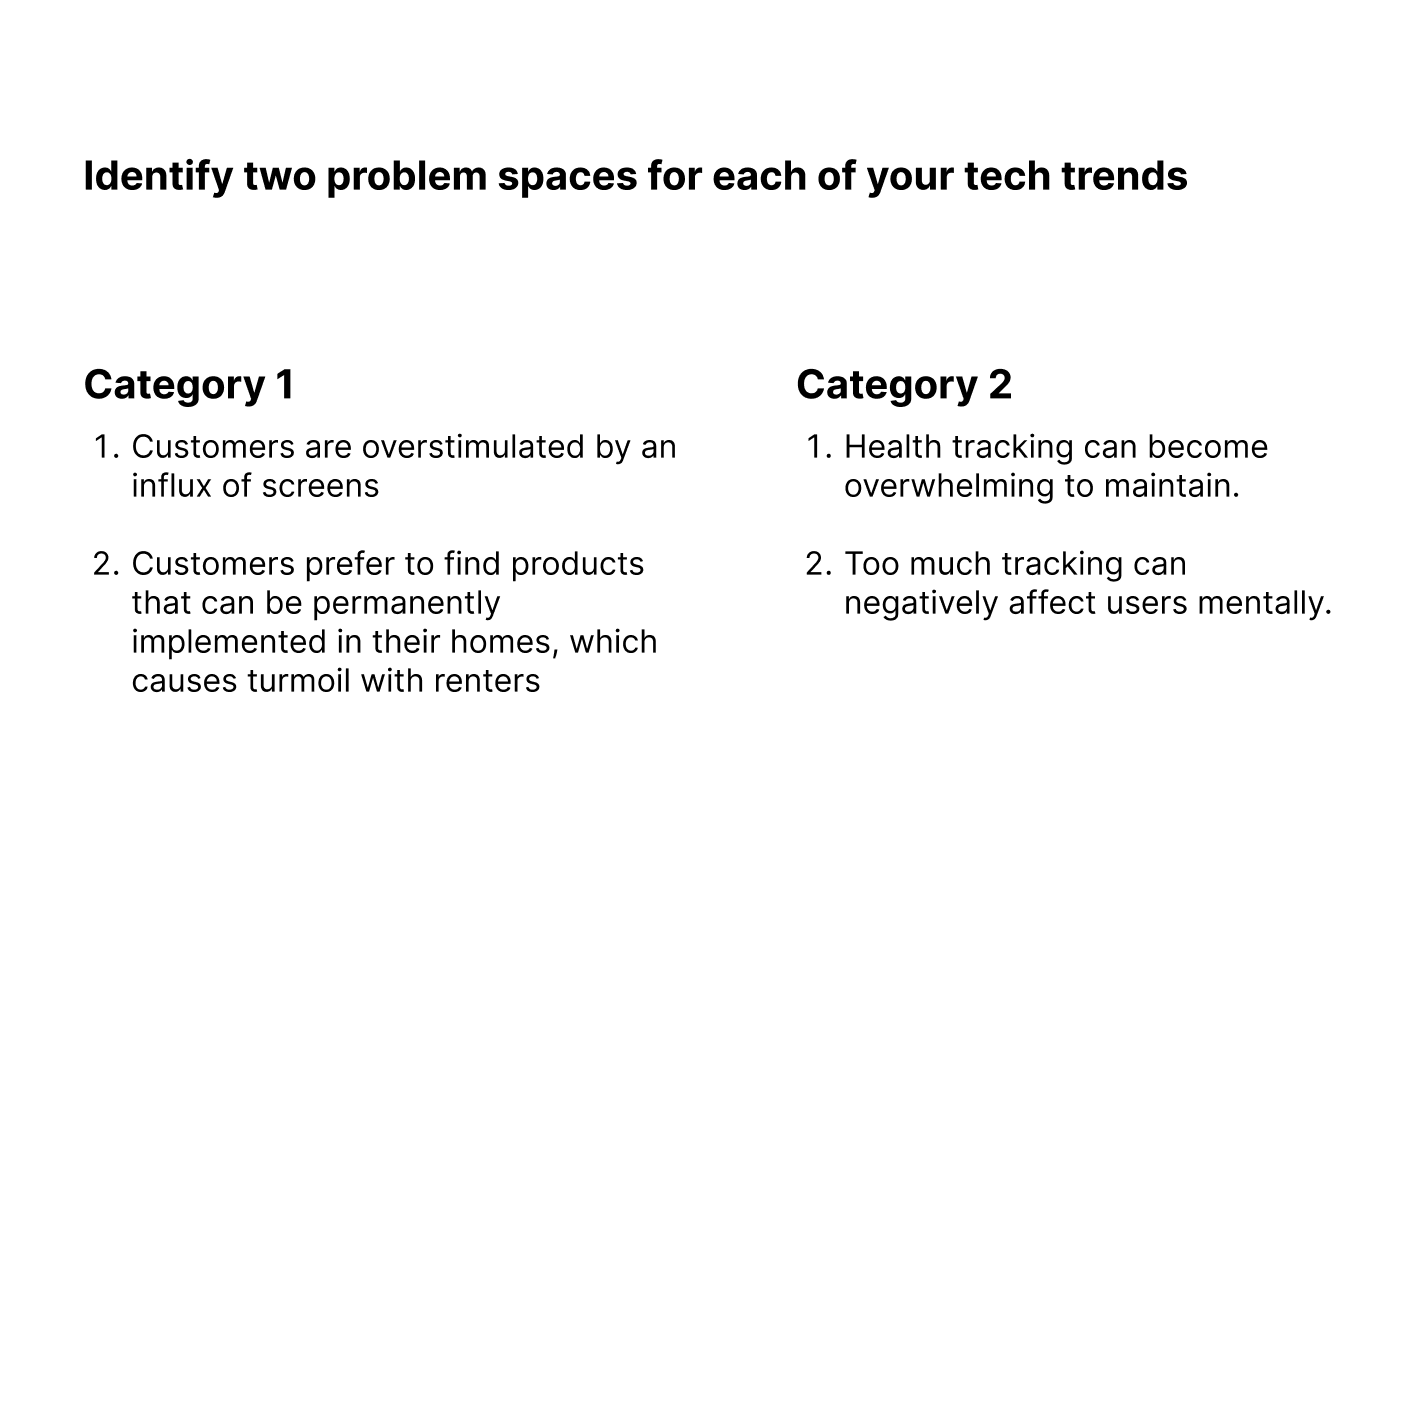
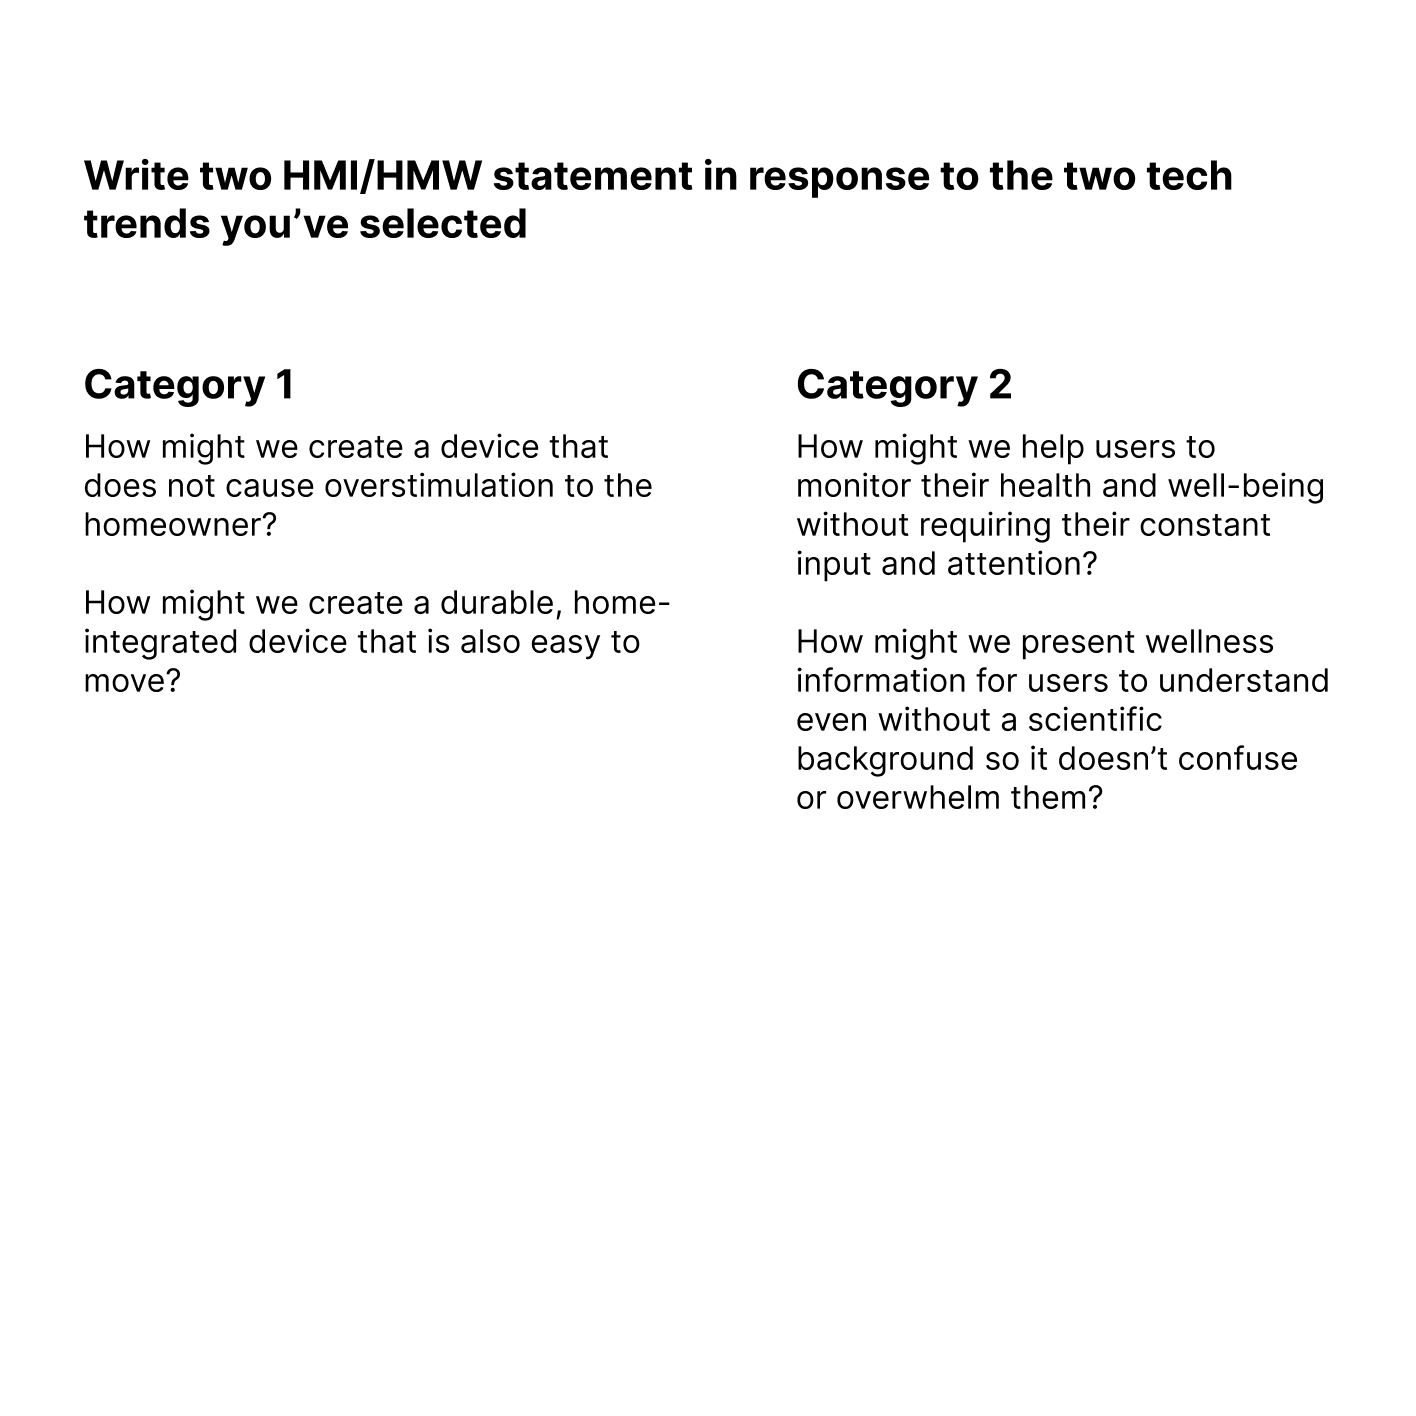
Using the most relevant pieces of information from our research, we created HMI statements that reflect the needs and preferences of our target users. This helped us to consider factors about our prototype that we had not yet considered before this activity, as well as simplifying them into understandable concepts to expand on.
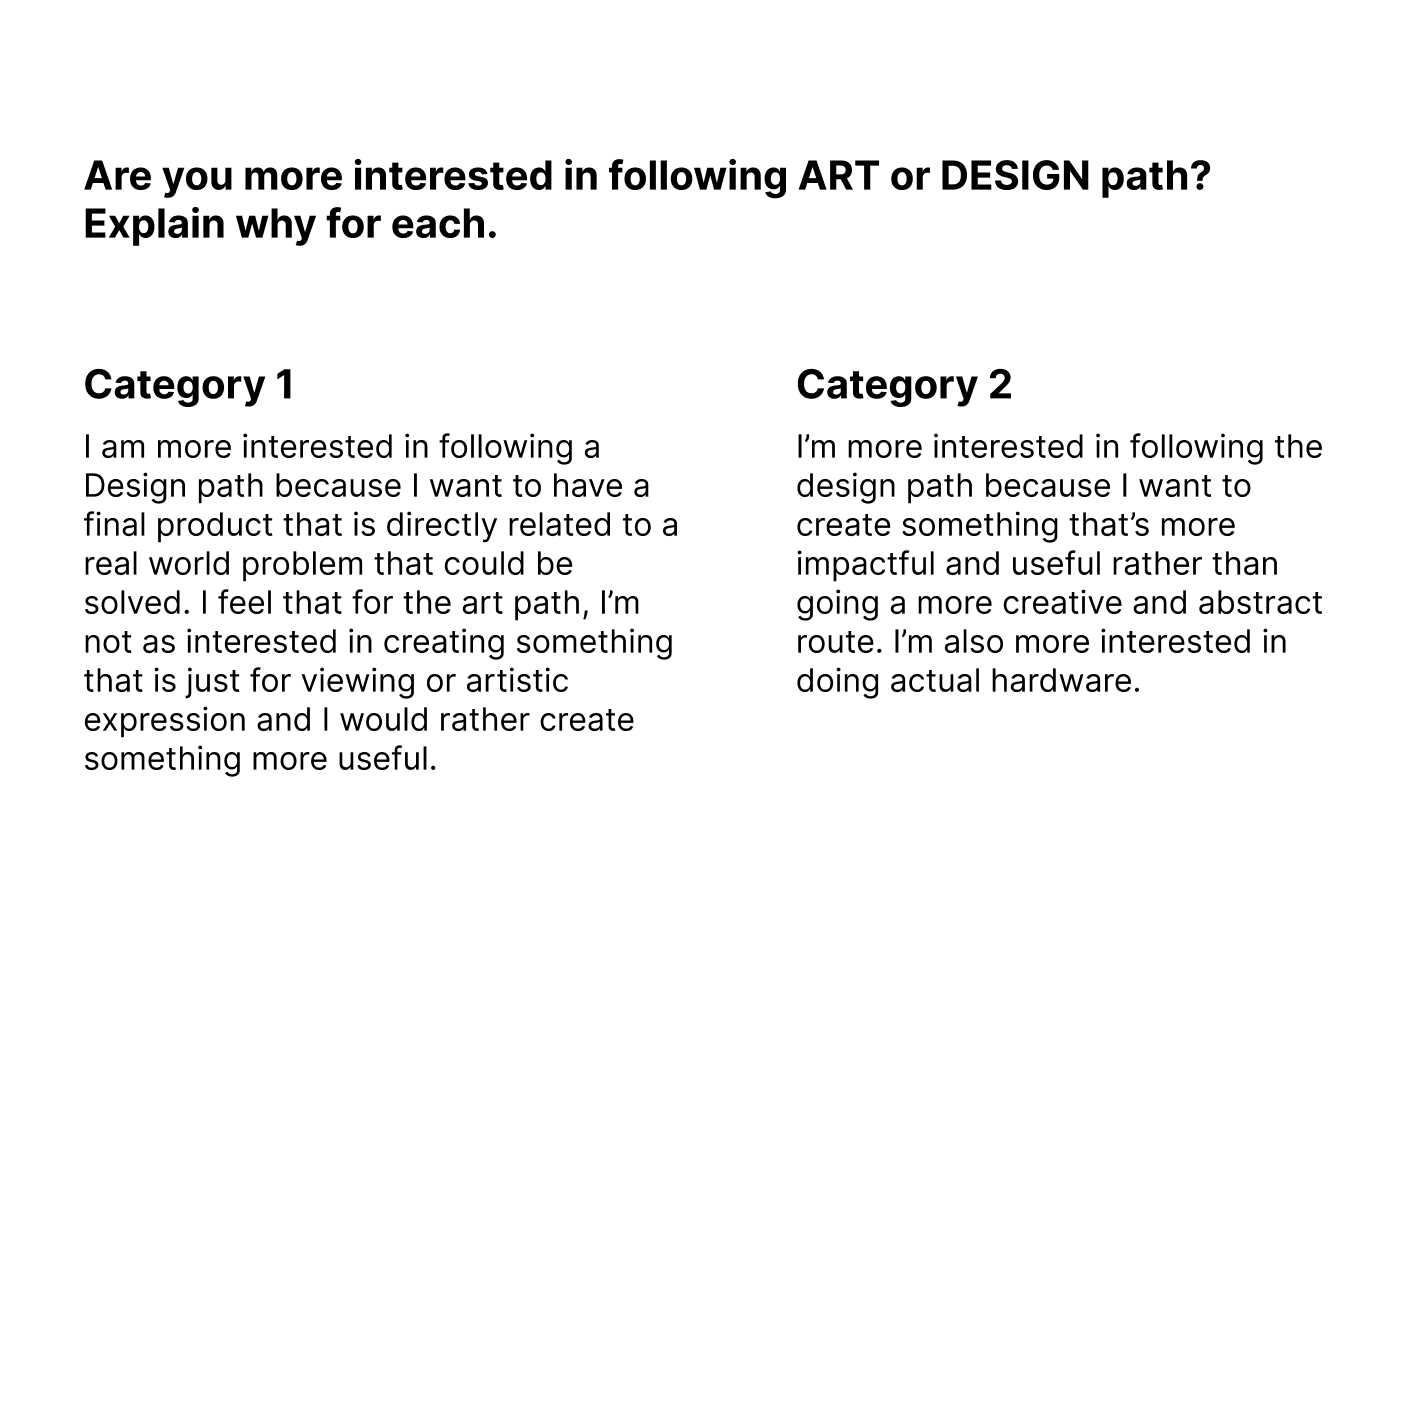
Project Path

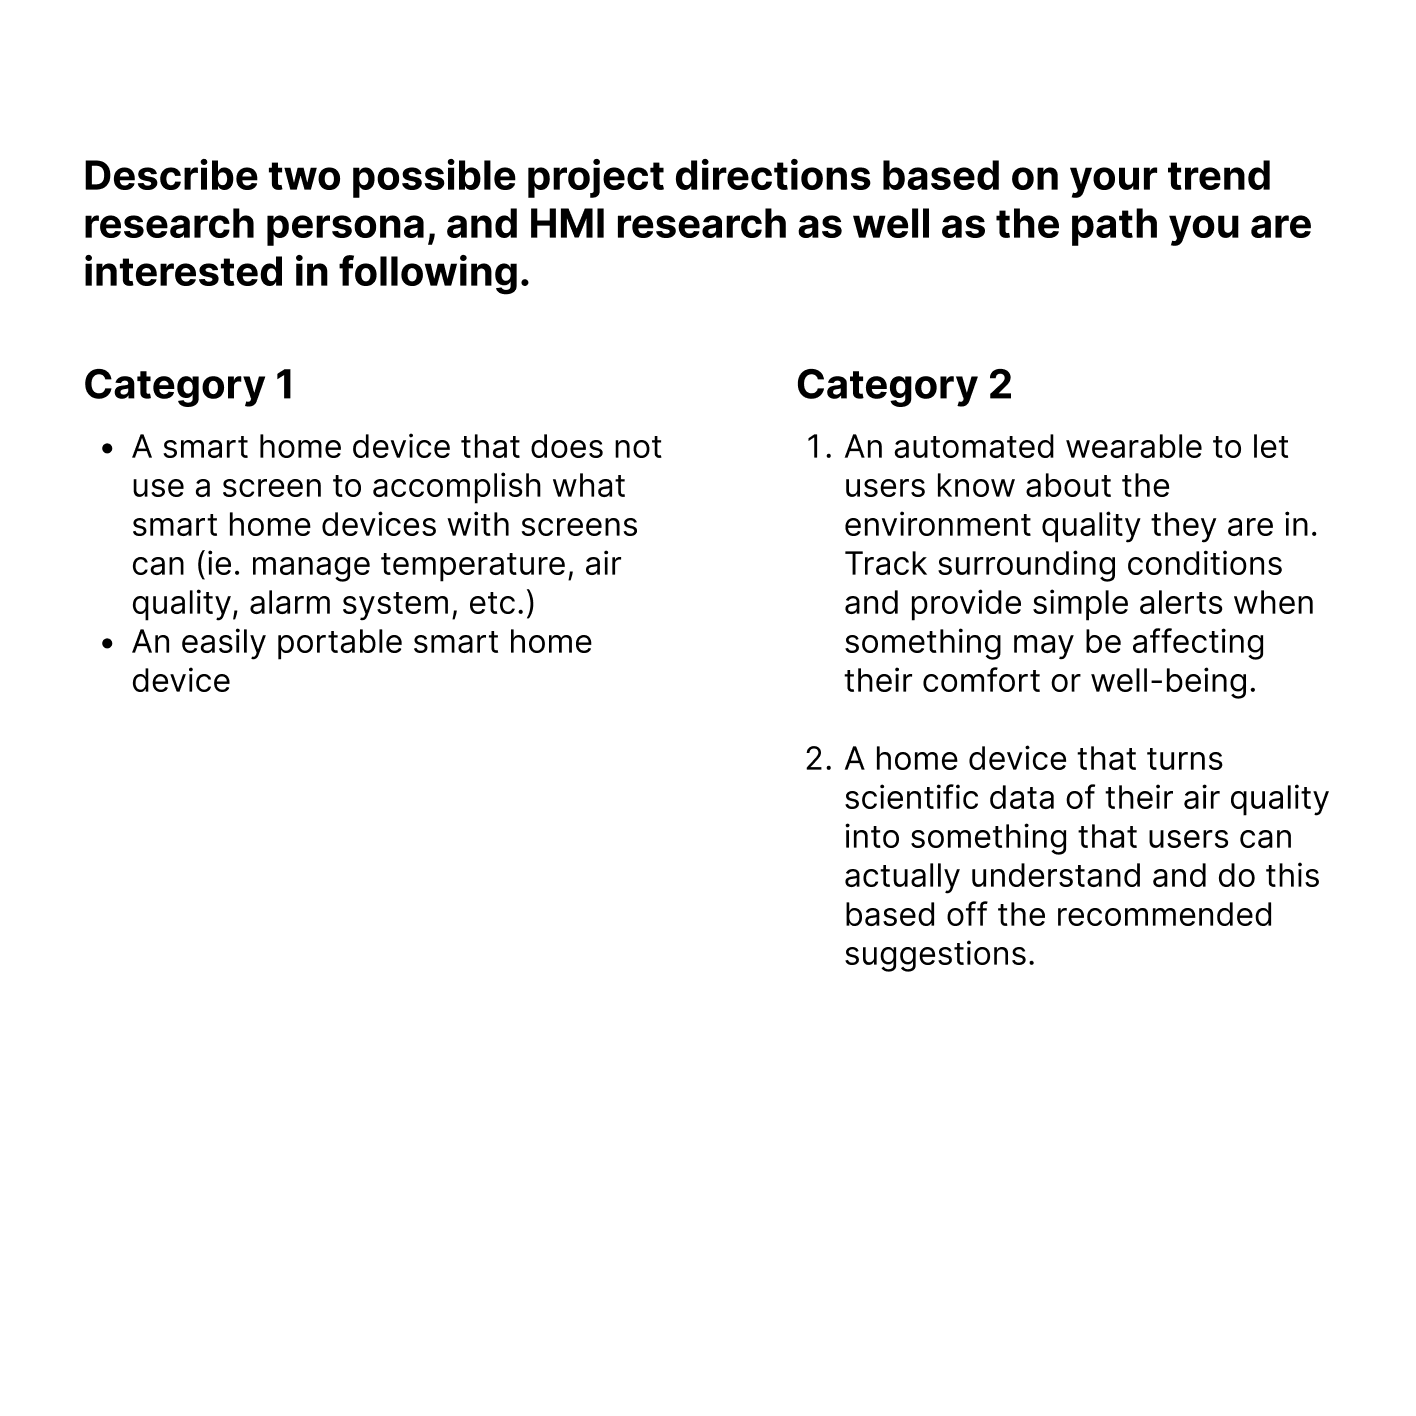
Mapping out what paths we would take for each category lead us to producing more possible project directions that we could consider pursuing, or even combining elements from different ideas to create a more comprehensive solution.
Project 1 Concept


Project 1 Concept

A visualization of our final concept, a smart room hub that displays room conditions such as temperature, humidity level, and air quality in an understandable manner for new homeowners who may not think to consider these factors. The device will automatically adjust levels (ie. if it is too dry, the humidifier will automatically turn on) and provide the user with preventative solutions to maintain a healthy home environment.
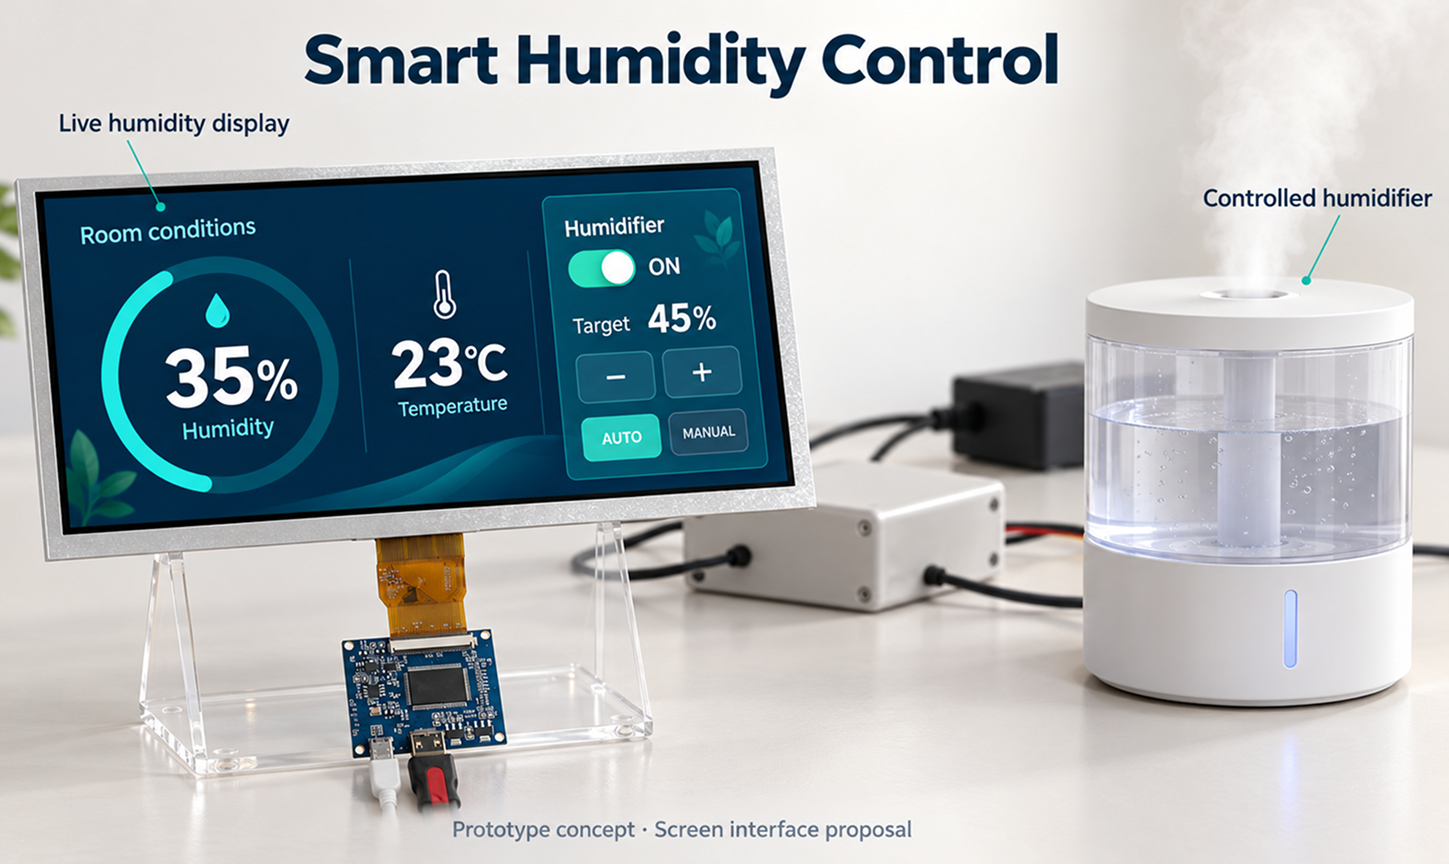
The prototype that we are creating will only be attached to a humidifier as a base to start with since we were able to find suitable and compact components for it that we can easily test with (ie. instead of a whole humidifier, we are using an atomizer disc to spew mist). The idea overall would be to have it integrated with other home devices in the future.
×

Powered by w3.css